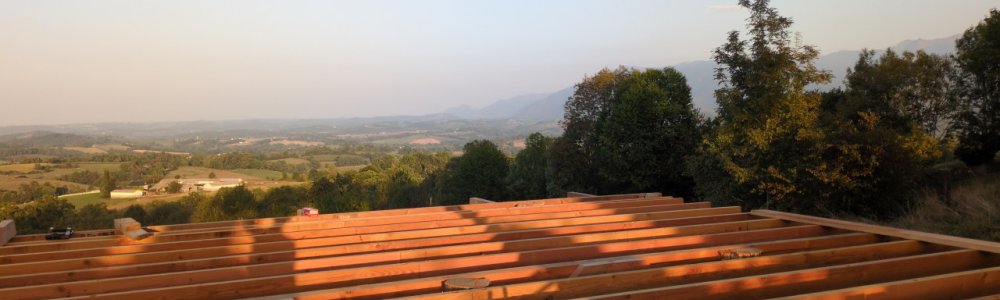
August: Enter the woodwork
August flew by like a wooden high-speed train.
Having wielded our trowels and concrete mixer and completed 90 per cent of the retaining wall work in July, we grabbed our carpentry tools with both hands: set squares, chisels, hammers, chainsaws, circular saws, hand saws, Japanese saws, clamps, and various drills and screwdrivers.
The aim: to build a wooden slab, resting on our mighty acacia piles, which will support the whole house. Estimated time on our reverse schedule: one month… we could barely hear the sniggers of Saint Splinter, patron saint of carpenters, mocking our utter naivety.
Here's a glimpse of the process, in a few key stages, and in pictures! With rough estimates of the time required, for those who might wish to replicate the experience.
1. Positioning the edges of the slab
As mentioned in a previous article, our black locust piles went into the ground of Miramon more or less as they pleased, depending on their mood, their diameter, and whether or not they happened to encounter any large underlying stones. As a result, their alignment is far from perfect, and some are more slanted than others! Nevertheless, using a chalk line, we were able to mark out the four sides of the slab, ensuring they were perfectly parallel and perpendicular, so that all four corners rest firmly on the piles. And, to our great relief, the result wasn’t too bad. On our plans, the house is supposed to be 10.5 metres long (including the veranda/bioclimatic conservatory) by 7.2 metres wide; our piles decided it would be more like… 10.6 by 7.25 metres!
Time taken: 1 to 2 hours.
2. Assembling the load-bearing beams and piles
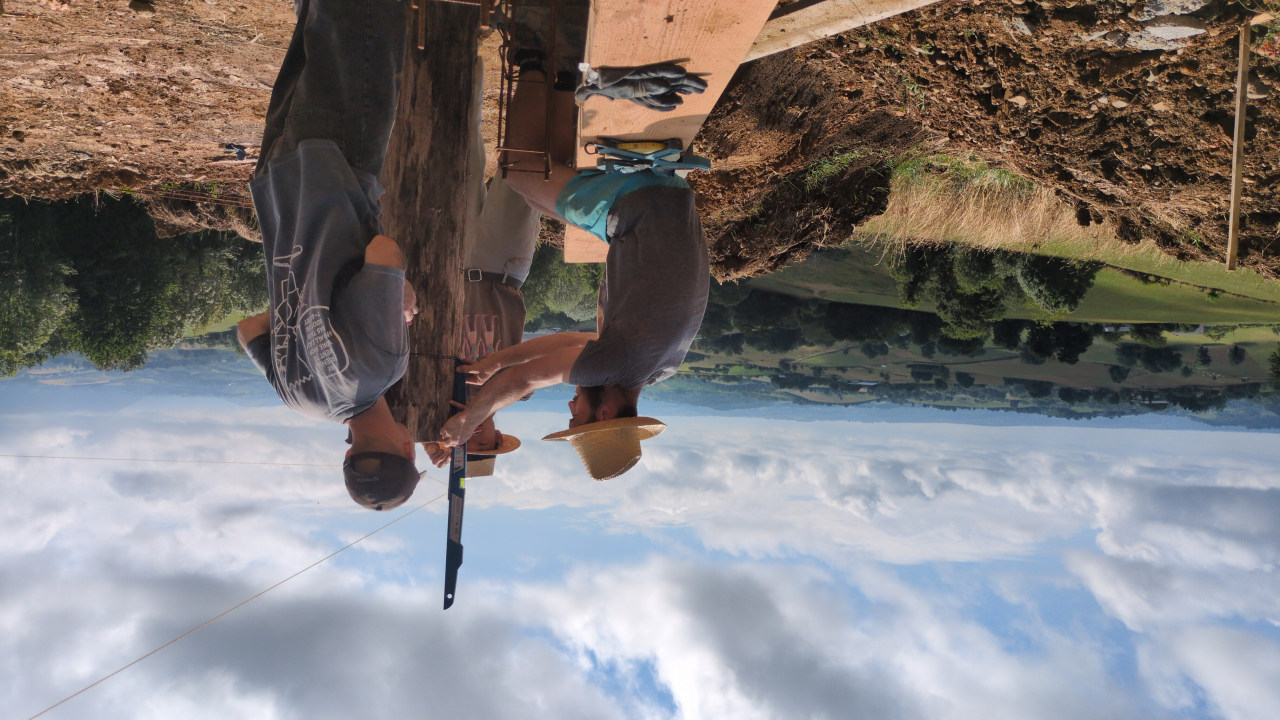
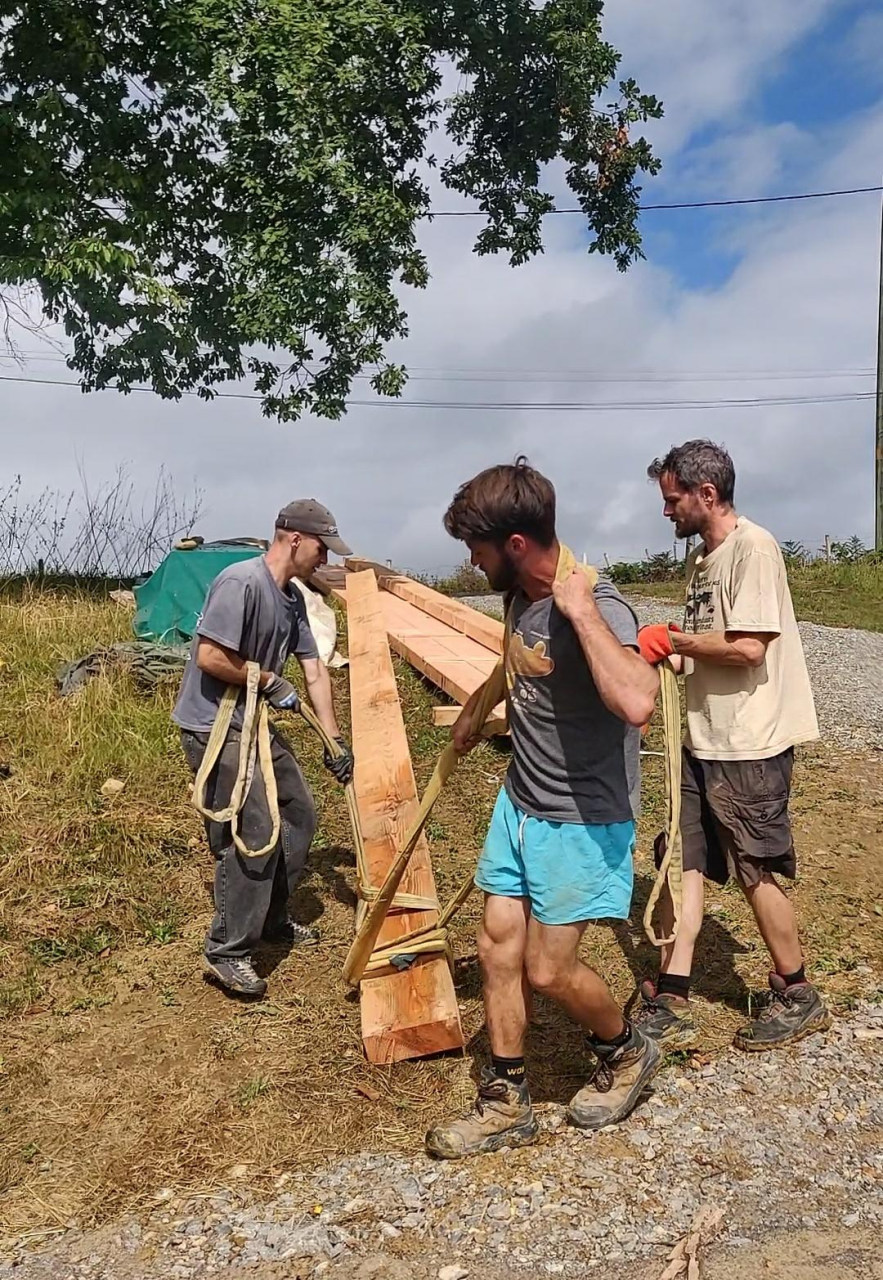
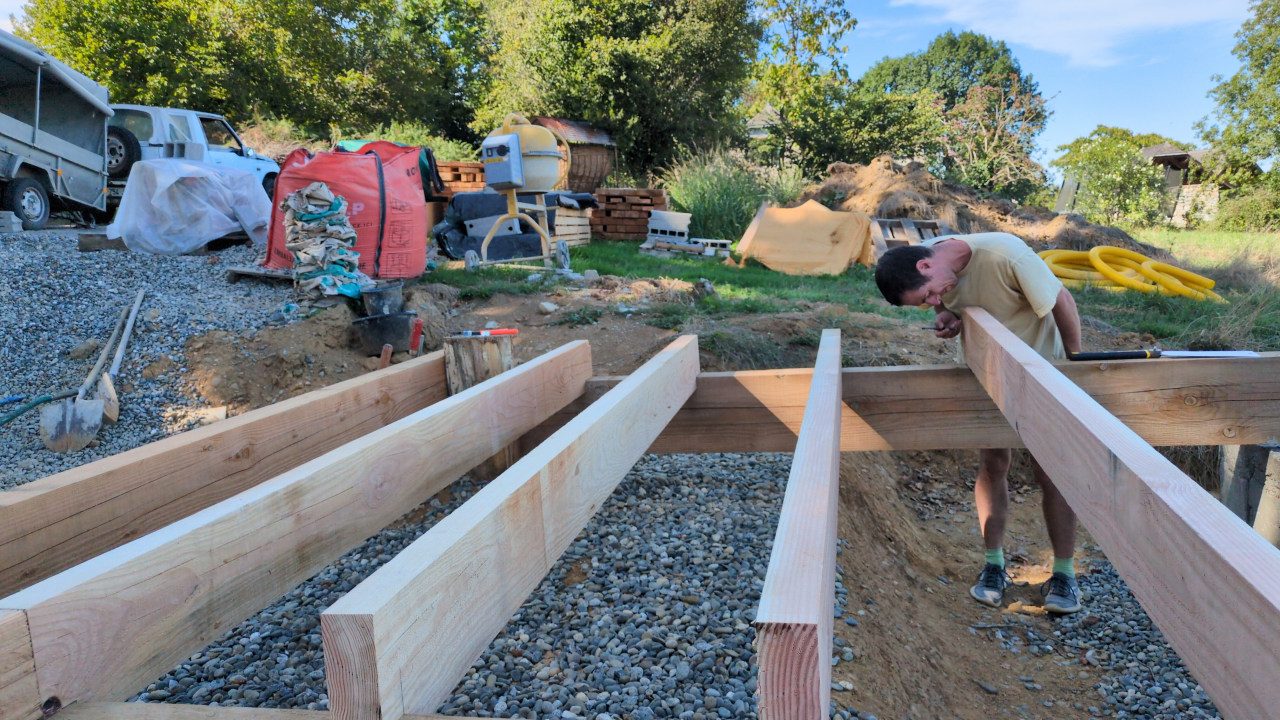
Next, we had to connect our load-bearing beams to the piles. These beams are six massive beasts, each 9 metres long with a cross-section of 10 by 28 centimetres, designed to be laid across the width of the house (east-west axis) and to support the joists. Needless to say, it took at least three, if not four, of us just to move a single one, dragging it along the ground with straps! But before that, we still had to cut notches into the piles to accommodate them...
- Markings
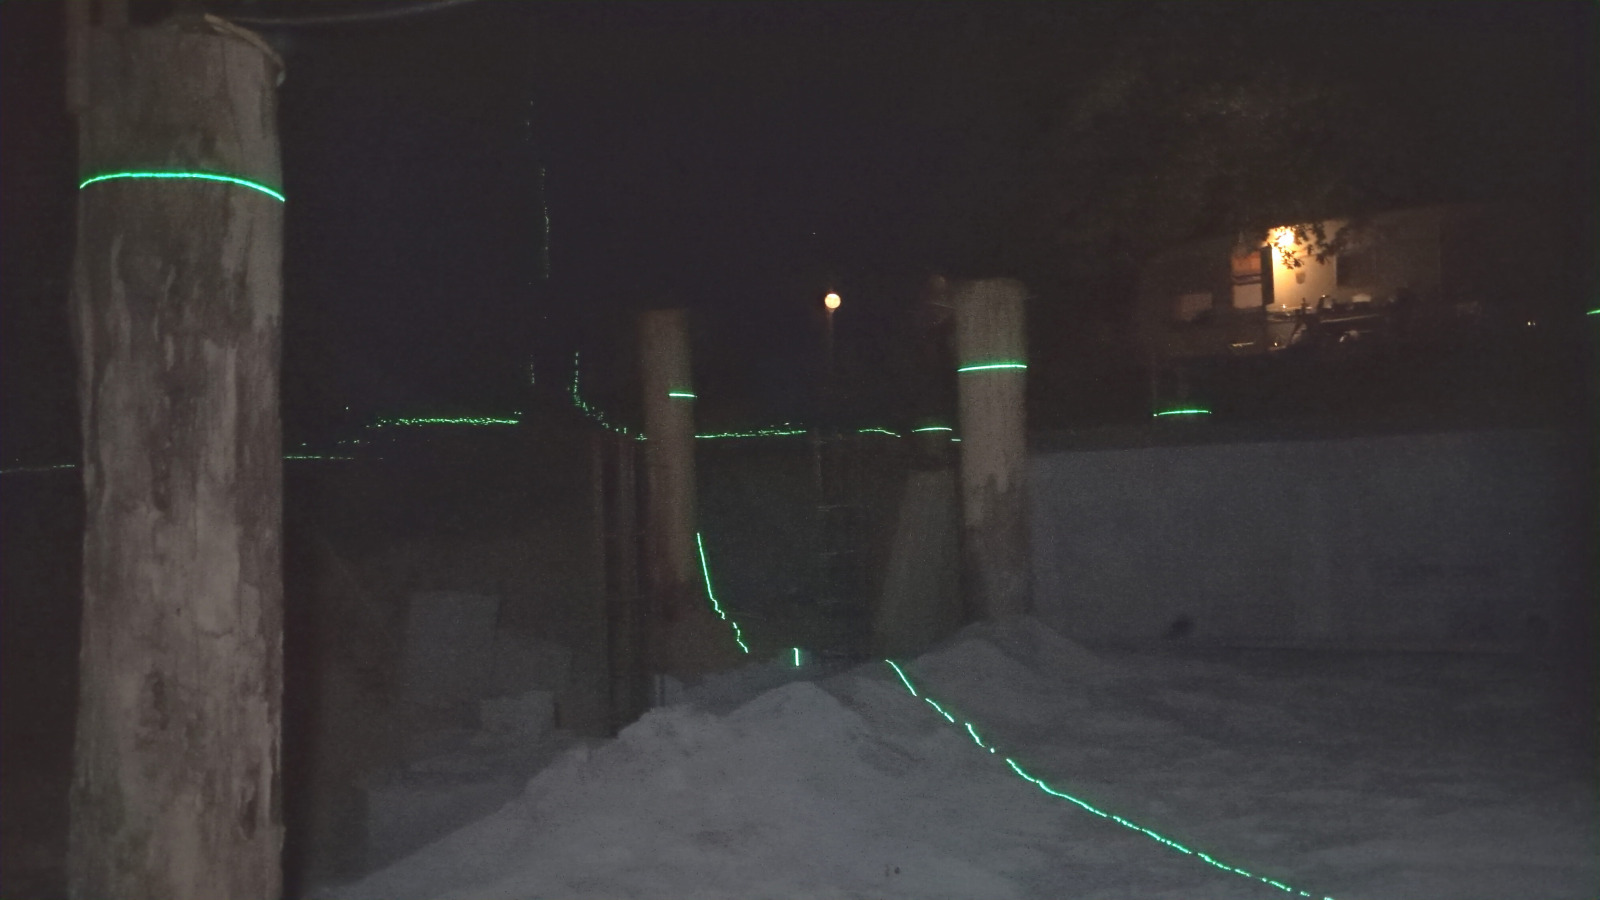
We began by using a laser to mark lines on the piles corresponding to the level of the top of the support beams, using the top of the shortest pile as a reference point (that one was driven in a little too vigorously by the excavator). It was no easy task: during this night-time marking session, we realised that the laser we were using really lost accuracy after a few metres, which meant we had to reposition it several times (using the previous lines as reference points) in order to mark everything out… as clearly as possible, despite the bits of bark, hollows and bumps adorning each of the trunks.
Time taken: three to four hours of night-time work.
Next, during the day, we used chalk lines to mark out, with a pencil, the position of each support beam on each of the six rows of piles – taking into account the position and the more or less uneven alignment of the piles in question – so that each support beam would be properly supported. All this was done to ensure that the support beams were perfectly perpendicular to the east and west edges defined previously, of course.
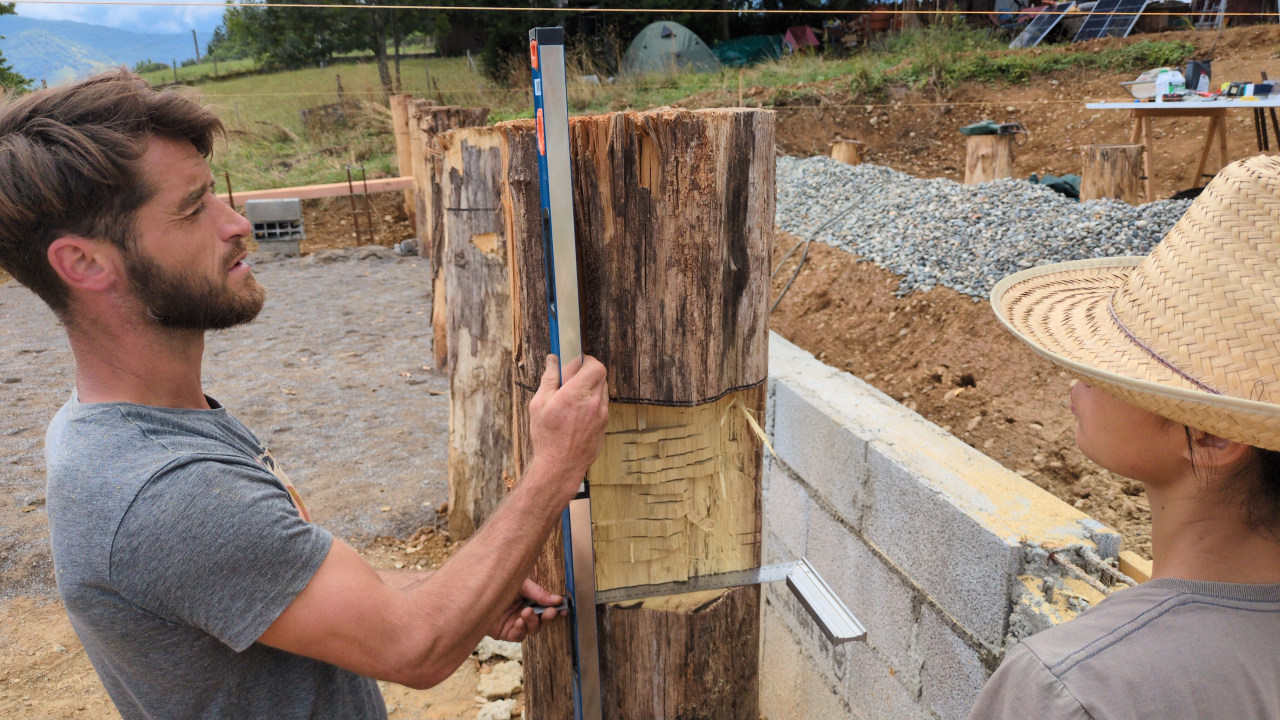
We then used a set square and a spirit level to measure, from the pencil mark at the top of each post, the depth of each notch at the top and bottom of each support beam, based on the cross-section of the beams.
Time taken: approximately four to five hours.
- Notches
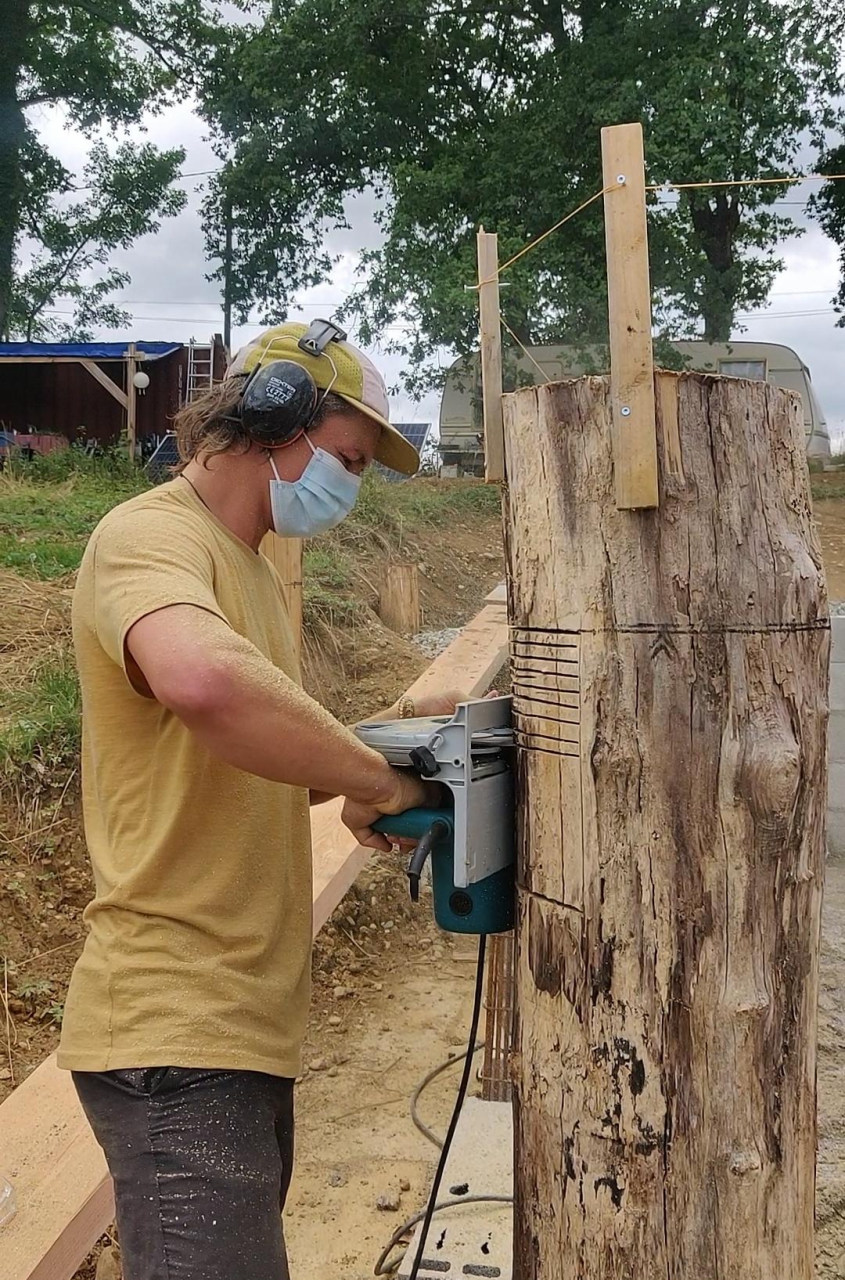
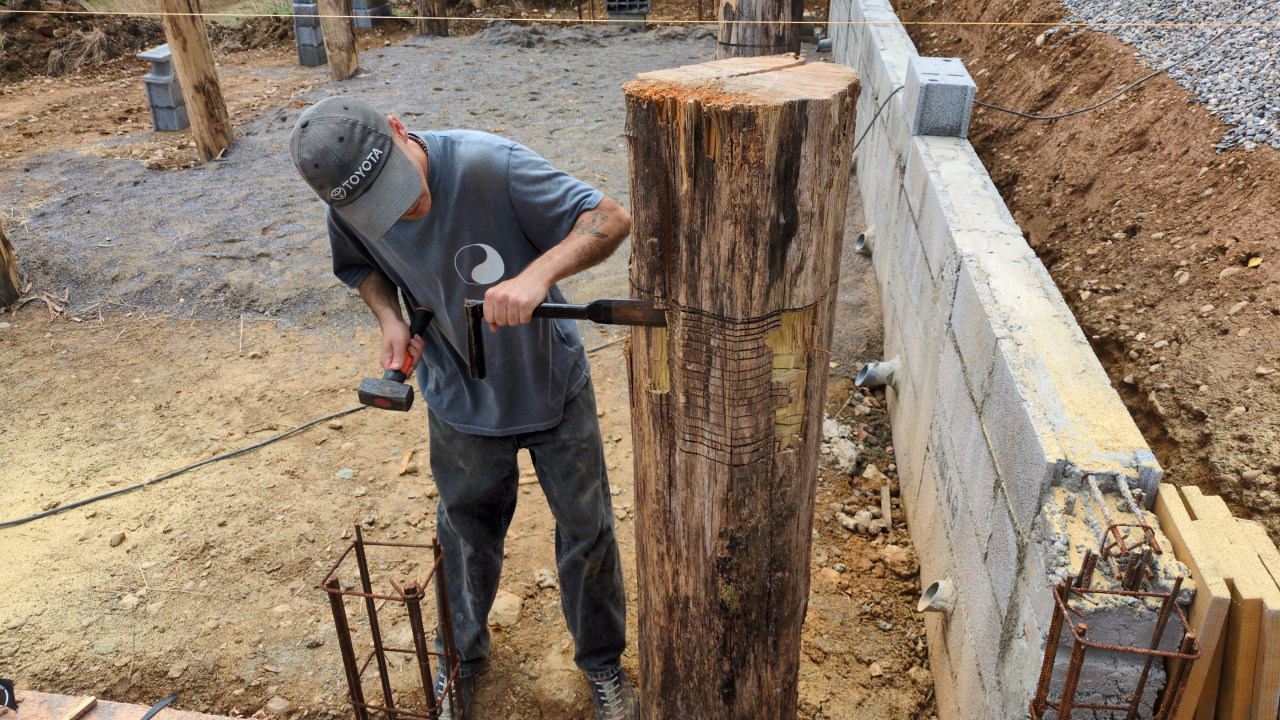
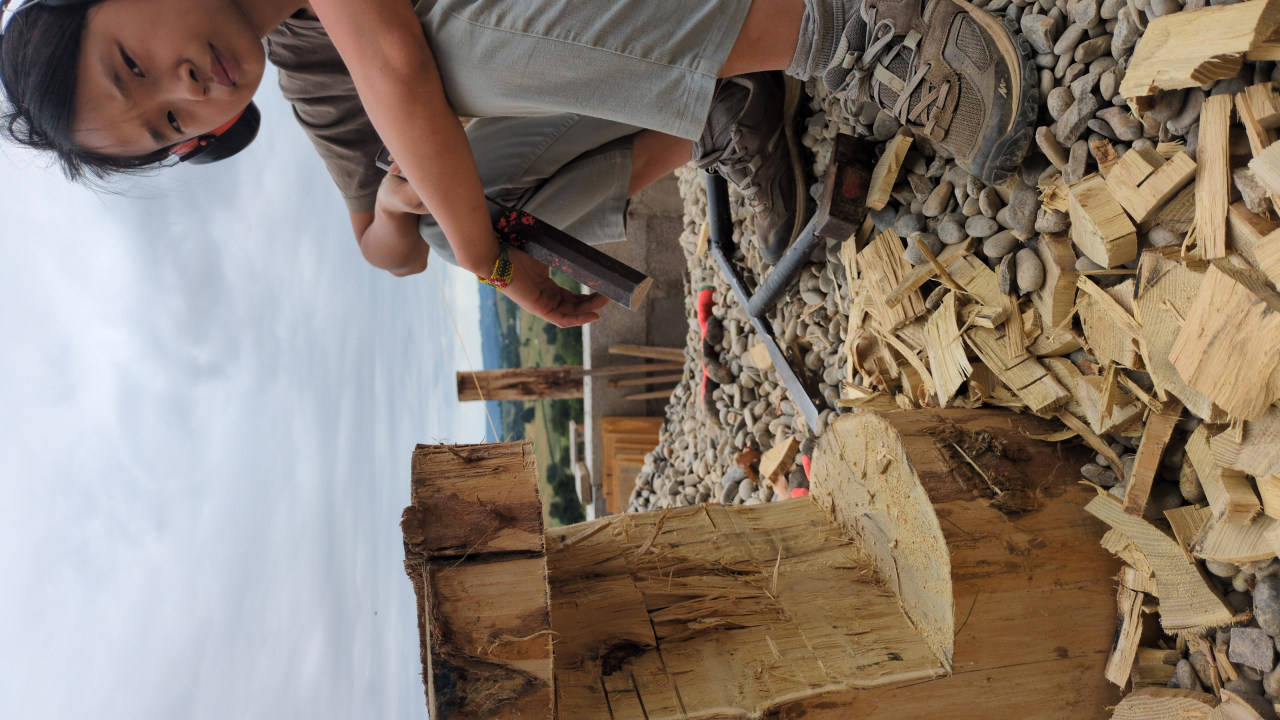
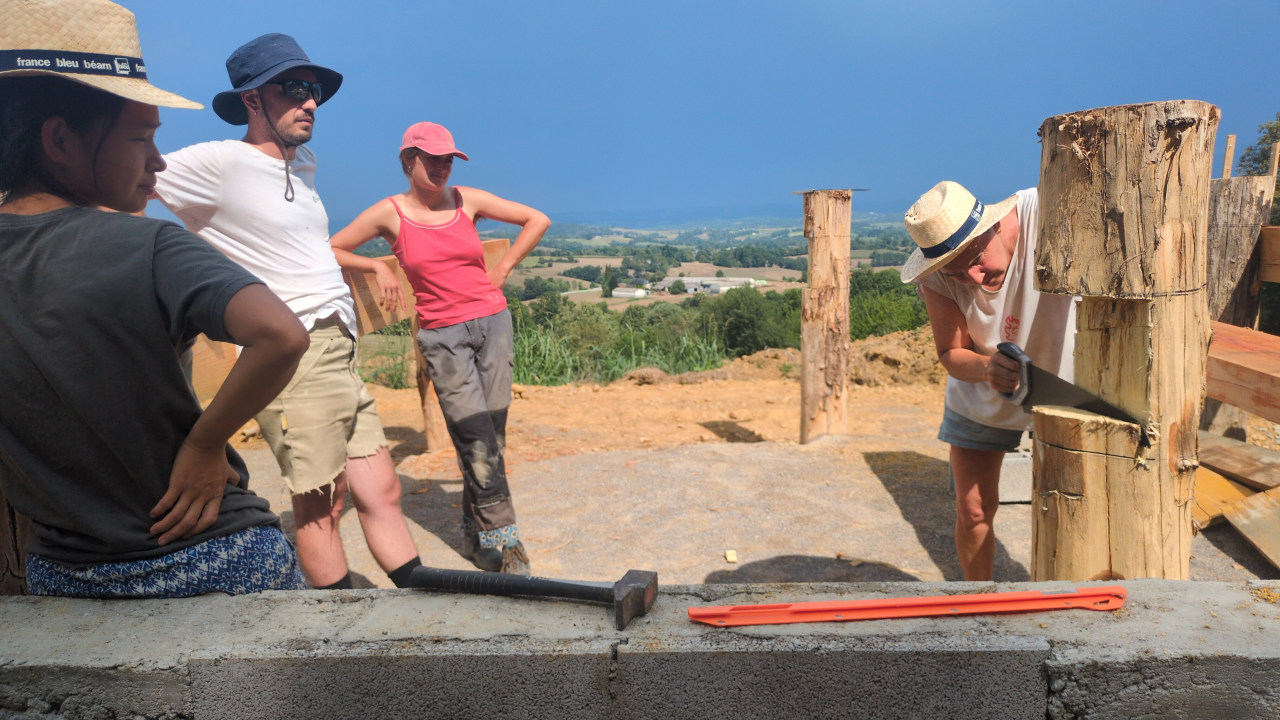
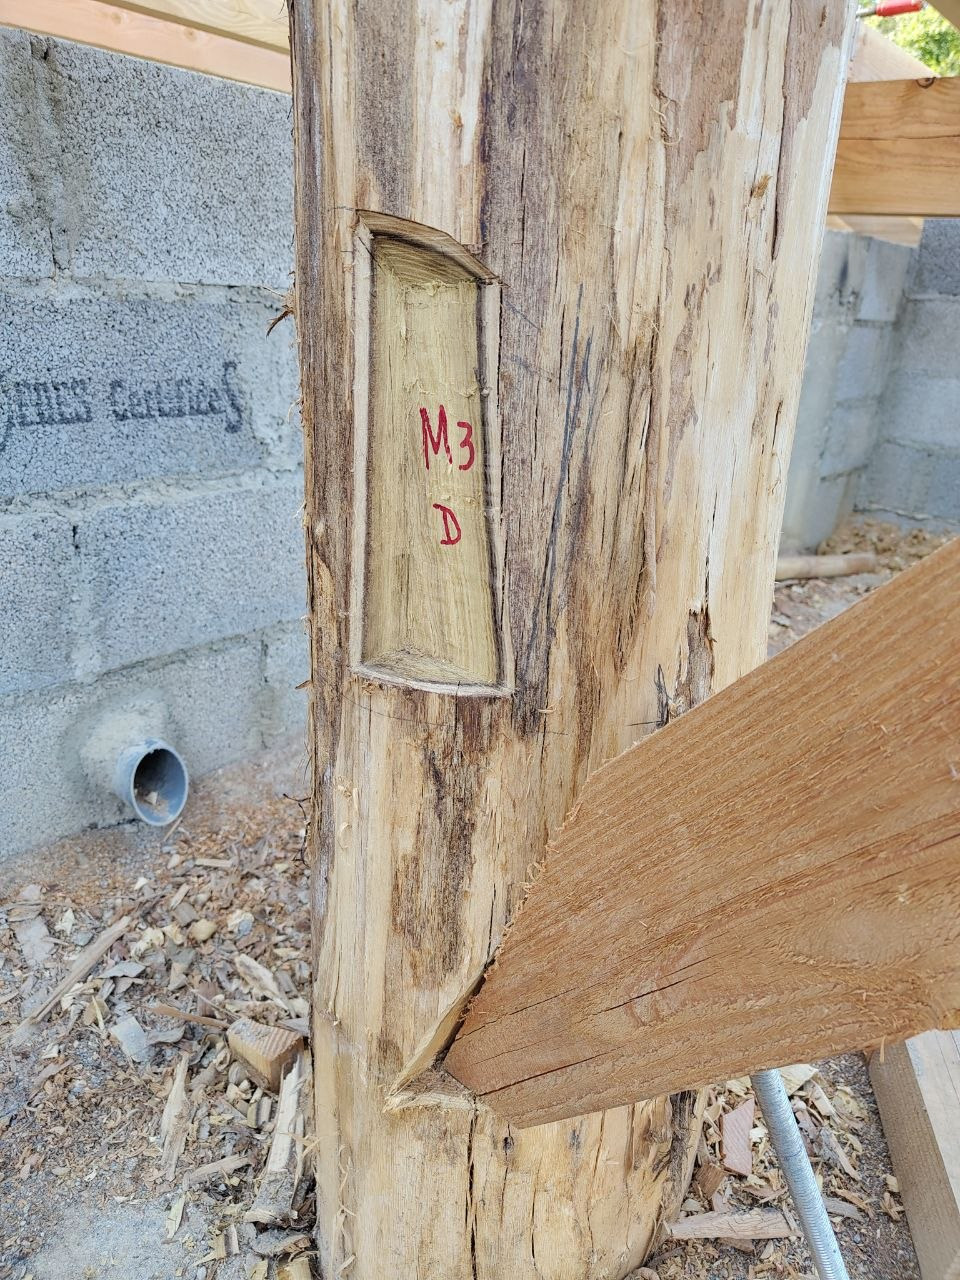
We then used a circular saw or a chainsaw to cut several notches into each of our 18 posts, as horizontally as possible, to a depth corresponding to the measurements taken earlier. From there, using a large wood chisel and a hammer, we were able to hollow out these notches to achieve a result… as straight as possible, attempting to ensure the inner face was perfectly plumb with the pencil line.
It sounds simple, doesn’t it?... But as Gandalf would whisper: Run, you fools! This was our first real encounter with the marvellous black locust wood… a wood we chose precisely because it’s rot-proof – and therefore, incredibly hard, as all the kind souls who joined us this summer for our woodcarving fun can attest, after having worked in positions that weren’t exactly easy…
Time taken: about three to four hours per post on average? That’s between 50 and 75 hours in total.
- Temporary assembly
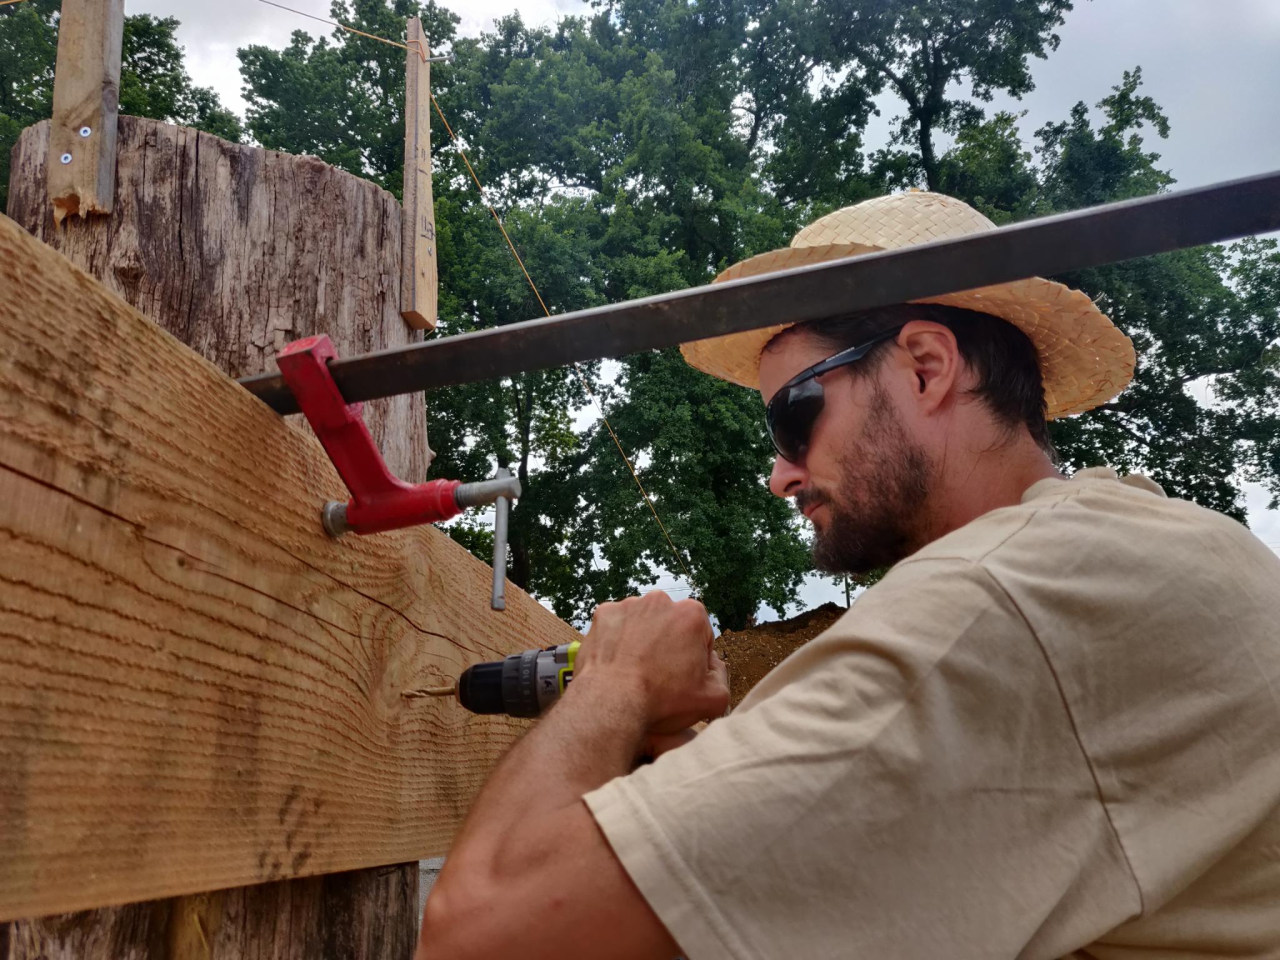
Once the notches had been cut for the three piles in the same row, a few of us were able to work together to lift the beam lying nearby, position it in the notches, and encounter all sorts of delightful surprises – because locust wood has a mind of its own, and finds all sorts of ways to thwart our plans. This meant putting the beam back down, reworking the notch, trying again, rinse and repeat. Until that blessed moment when it finally fit, and we could start making adjustments using a spirit level and a clamp to check that everything was perfectly plumb… put in one or two temporary screws… then cut oak shims to exactly the right thickness if there were any gaps to fill (and Saint Splinter, in her infinite generosity, provides us with plenty of them).
Time taken: about two to three hours per beam, or 12 to 18 hours in total.
- Fun laser activities
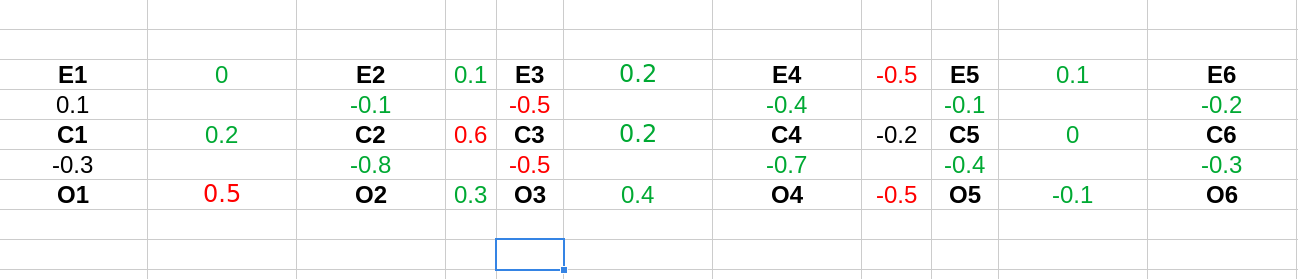
Once all the beams were in place, given the lack of precision during cutting, we wanted to check that they were plumb in relation to one another. According to two carpenters we consulted, the acceptable margin of deviation was 4 mm from one beam to another, and one centimetre from one end of the slab to the other... So we brought out the laser again for a comprehensive check, which showed us that the deviations were too great. So we made more shims (to raise some beams) or cuts (to lower others)... but the results of a further check proved incomprehensible or contradictory. It was then, upon looking into the matter a bit further, that we discovered our laser was actually a bit out of whack! So we bought another one… and started the process again, taking systematic measurements between all the piles. This gave us a table showing the areas that needed work (see the overview below).
Time taken: around six or seven hours of measurements, calculations and other hair-pulling moments
- Final bolting
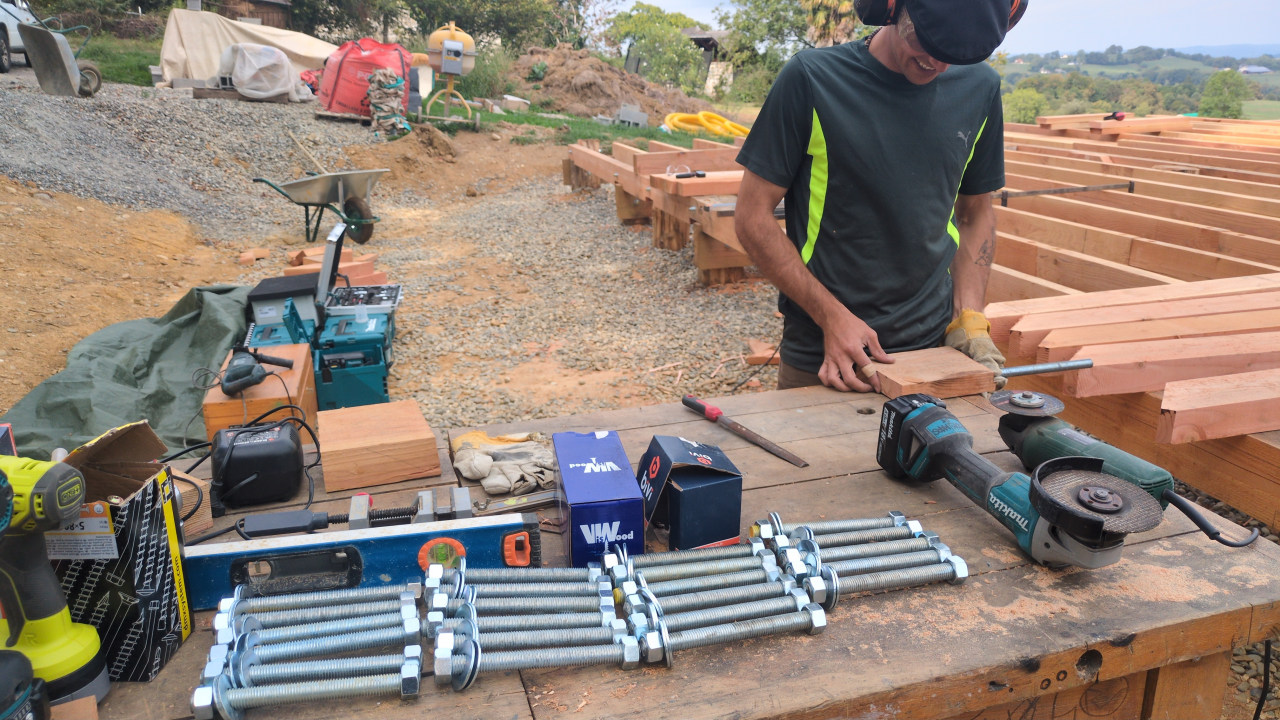
Finally, when – incredibly – a support beam is parallel to the edge of the slab (the first one serves as the reference), straight, level, plumb and securely wedged in place, it is time to bolt it down! We use a large drill fitted with an 18 mm drill bit to drill a hole perpendicular to the beam, which passes through the beam and the locust pile. However, black locust wood is a bit of a joker: it loves nothing more than to grab a drill bit and hold it tight between its teeth, like a mischievous dog with a frisbee. This is extremely frustrating and requires using a ratchet with a lever arm to twist it out – with great difficulty – or else to drill carefully (advancing bit by bit whilst regularly withdrawing the drill bit) to remove the wood shavings before they jam everything up.
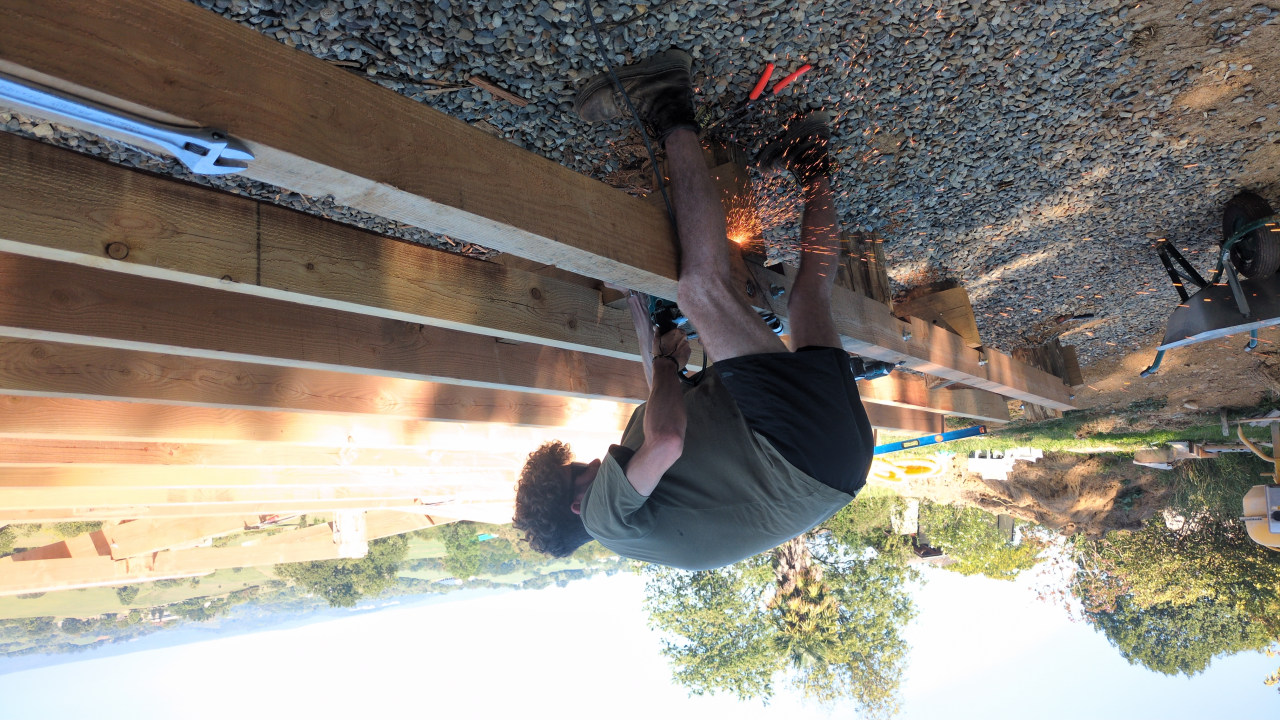
Once the hole is drilled, we make a flat incision on the post side using a Forstner bit, which will ensure the washer sits flush against the wood. We cut an 18 mm threaded rod to length with an angle grinder so that it passes through the beam and the post, plus 3 mm on each side (taking care not to damage the thread, which happens so often, oh so often...). And finally, finally! The long-awaited moment arrives when we can bolt it in place, with a washer and a nut on each side, tightening it securely with an adjustable spanner. And tell ourselves that this one, at least, we won’t be touching again!!
Time taken: 30 minutes per post, or about 9 hours in total.
3. Fitting the perimeter and central joists
The main beams are in place and secured – hurray! But we’re not quite done yet…
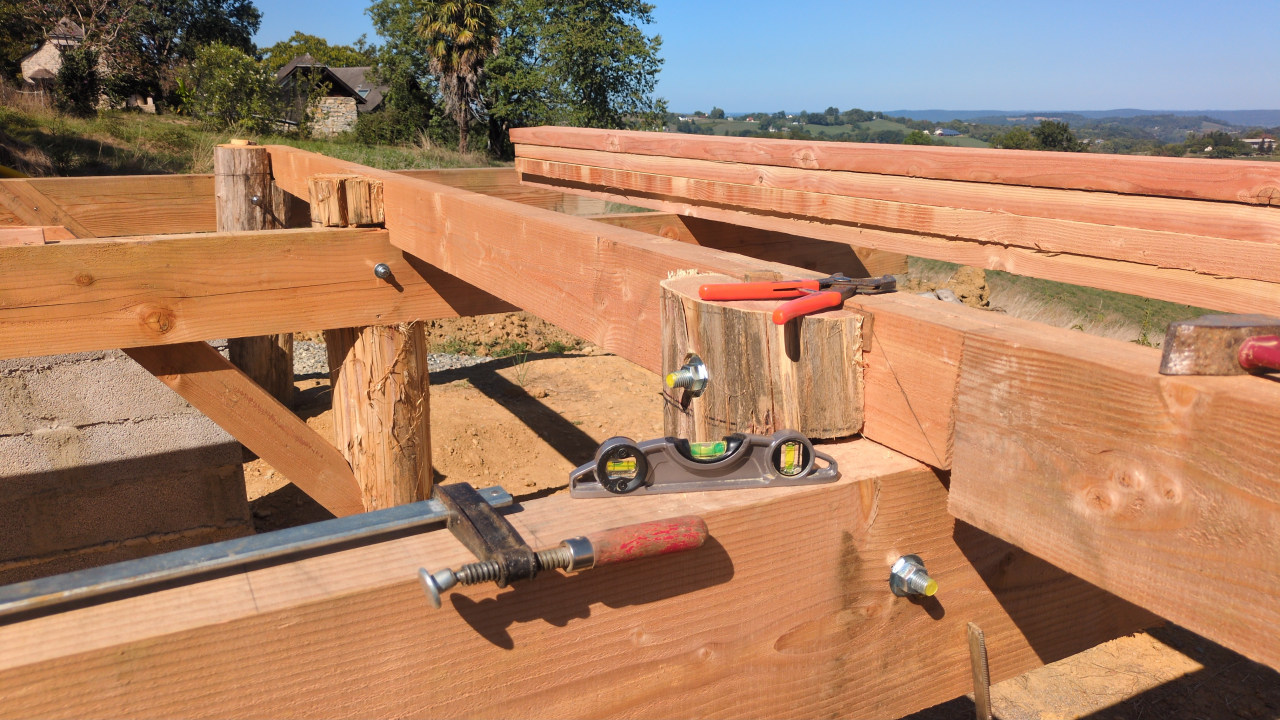
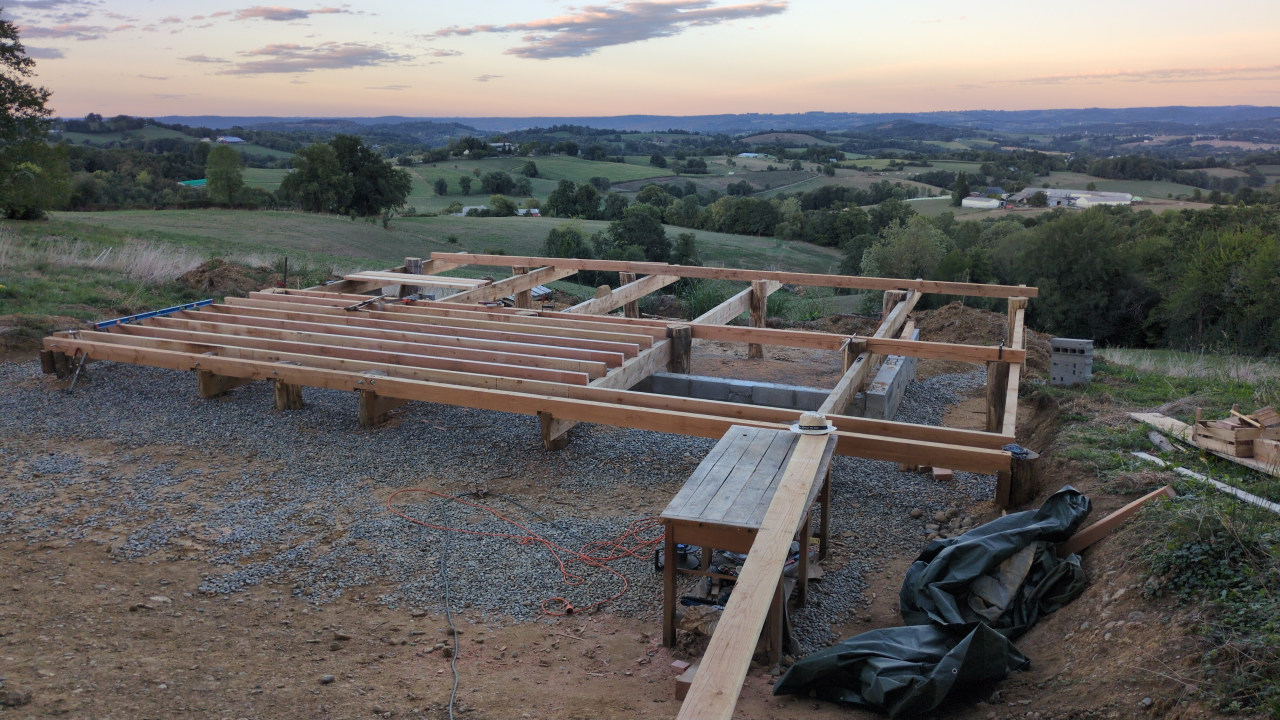
We now need to install some other important beams: the perimeter joists. There are three of them, arranged perpendicular to the main beams, each resting on a north-south row of posts (east, centre, west). Dimensions: 10 by 18 cm. A nice little variation: each one is formed by joining two beams end-to-end to span the 10.6-metre length of the house. This gave us the chance to practise making so-called ‘whistle’ cuts (with a diagonal cut) and ‘half-timber’ joints (beams joined along their thickness).
Furthermore, these joists pass through both the support beams and the tops of the acacia posts: they rest on the support beams (via 4 cm deep notches) and pass through the posts, which therefore need to be cut to accommodate them, just as they were cut in the other direction to accommodate the support beams. The difference is that this time, the cut can be made directly from the top of the post—which has already been cut to height—which is much easier, rather than doing it from the side. And, of course, we first marked out the position of these joists using a chalk line.
In short – we therefore had to shorten the piles, then trim them, and finally we laid these joists, which we joined together, screwed to the load-bearing beams (8x220 screws) and bolted to the piles where possible. Phew…
Time taken: about 5 to 6 hours per joist, or 15 to 18 hours in total.
4. Fitting the bracing members
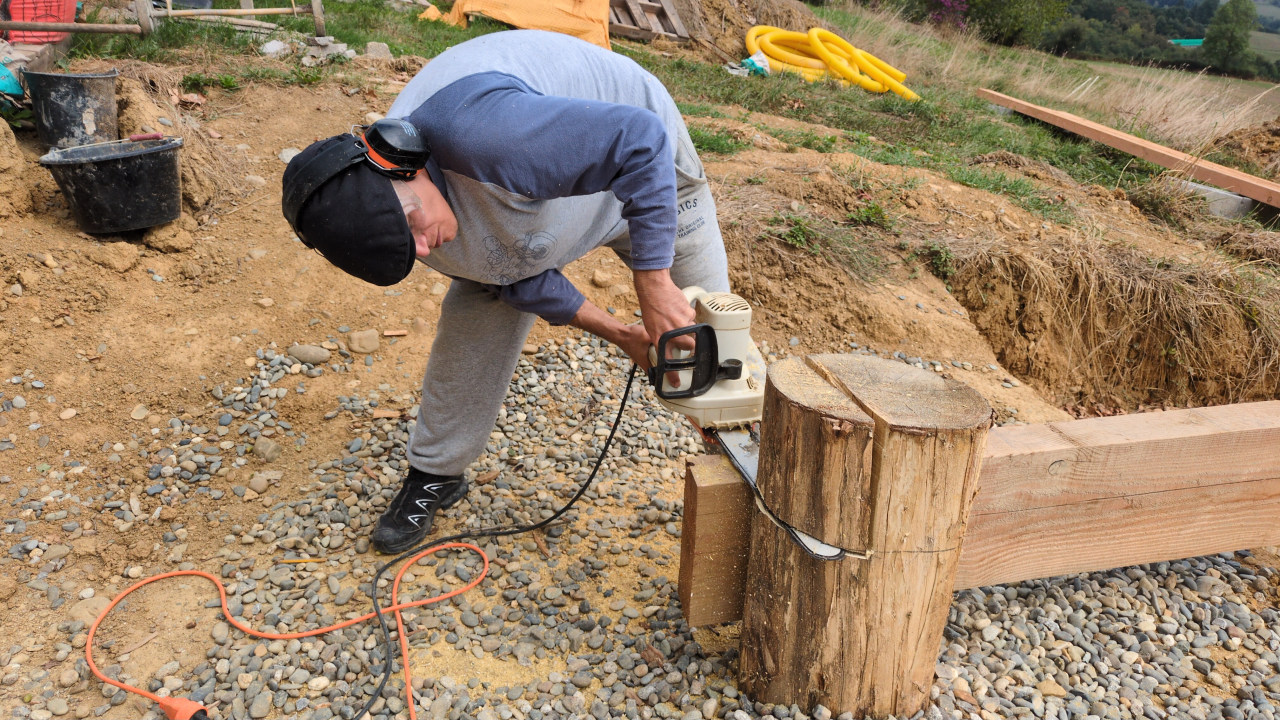
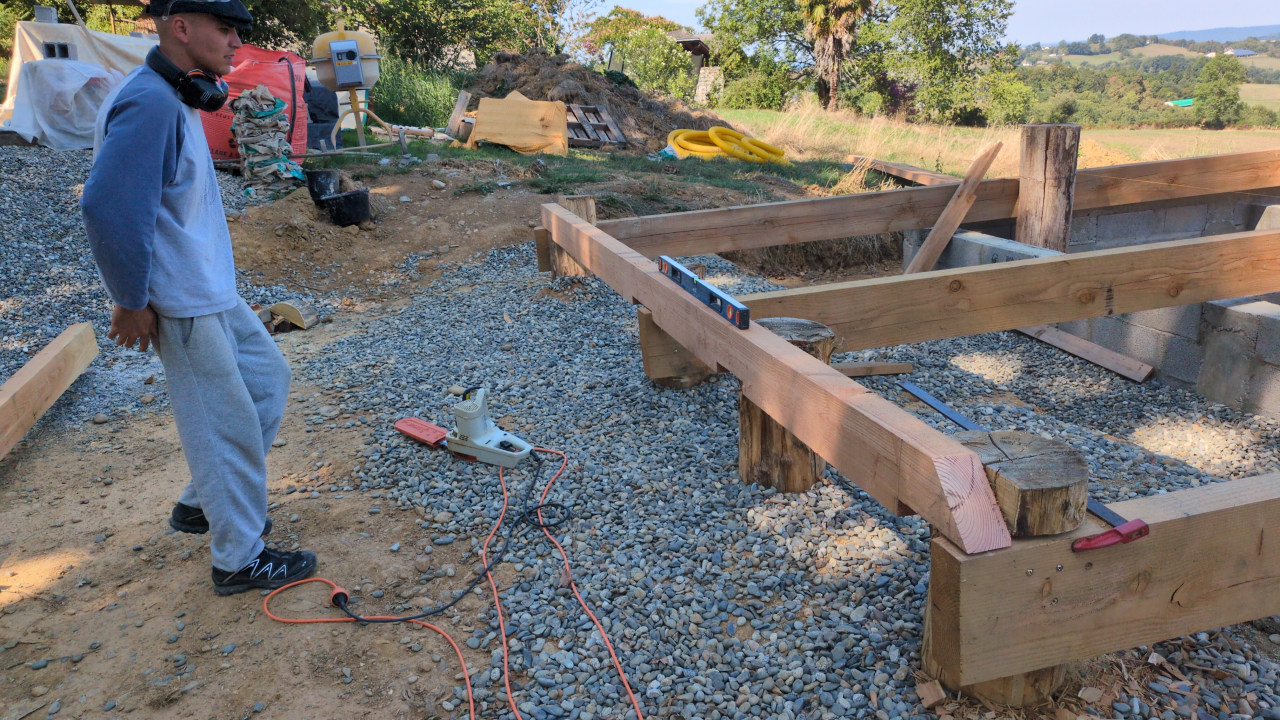
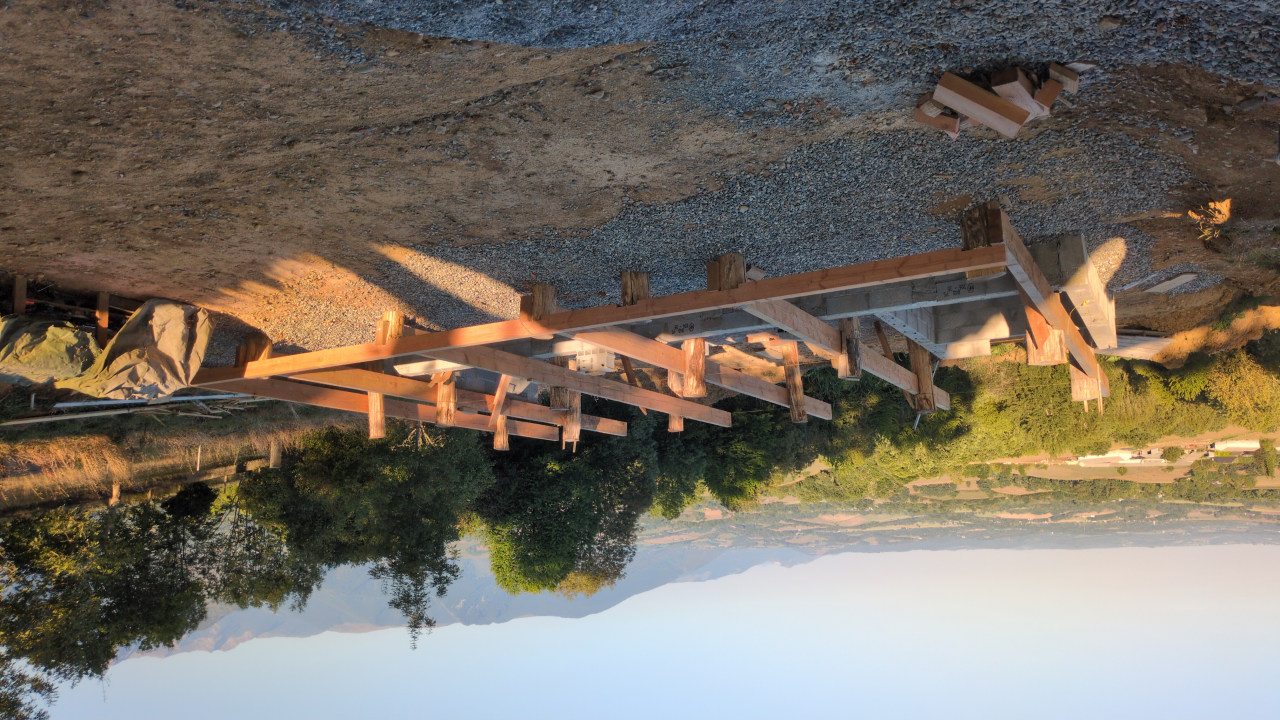
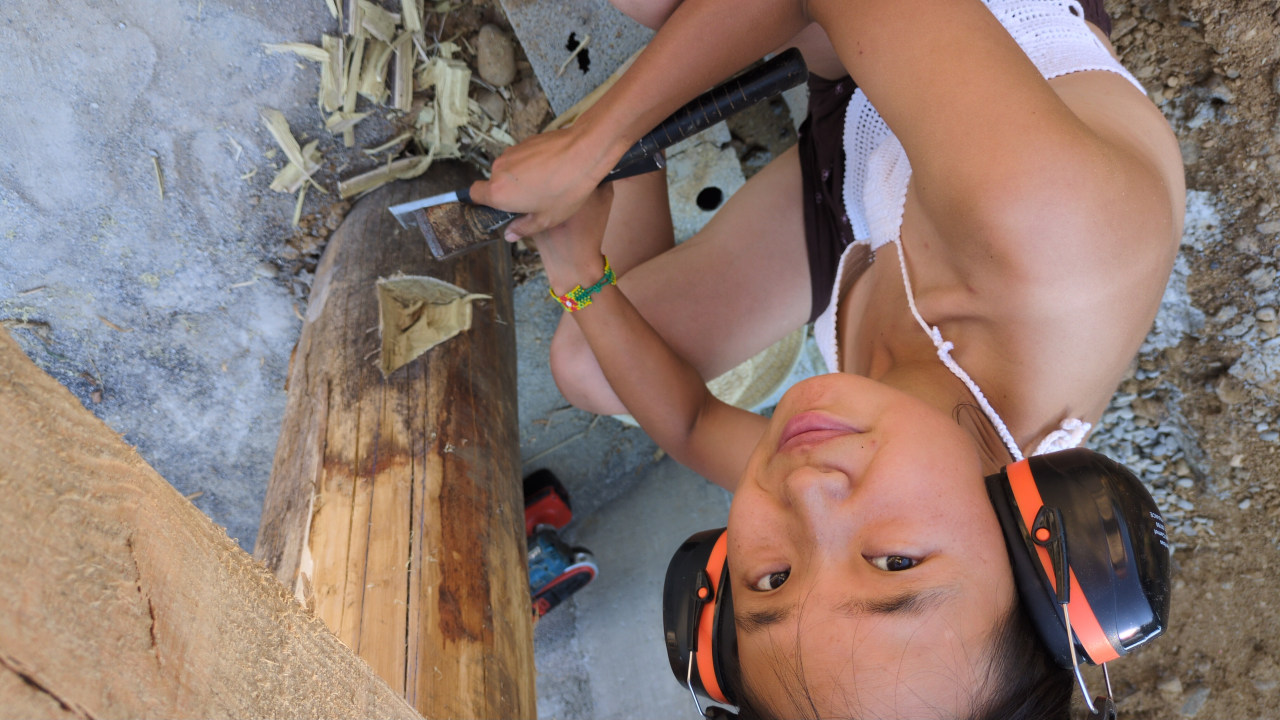
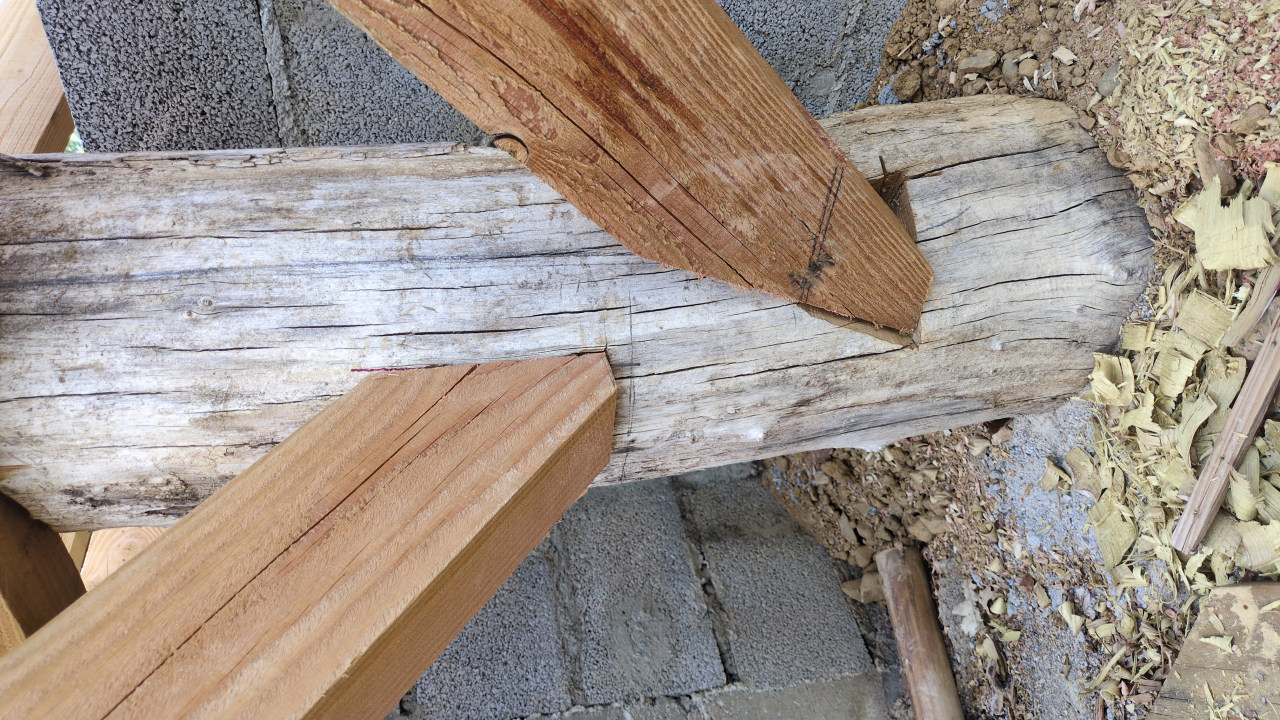
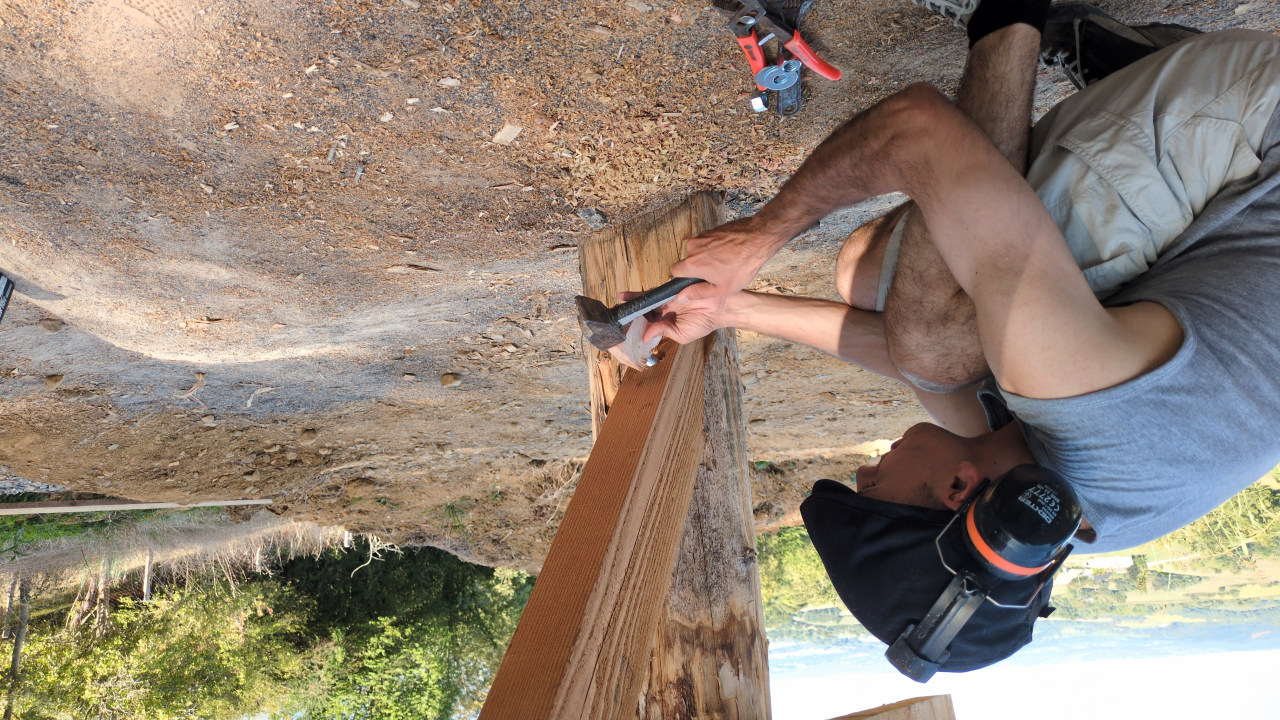
Once the load-bearing beams had been completed, followed by the perimeter and central joists as work progressed, we set about a task whose scale we hadn’t realised: the fabrication of bracing members. These are diagonal members that connect the piles to the load-bearing beams or to the perimeter and central joists, thereby strengthening the entire structure – which is particularly crucial, given that we are building in an earthquake-prone area. At the beams, the joints are either half-lap joints or full-lap joints (from the side or from below). As for the locust piles, notches must be cut into which the braces will slide. These are usually made by cutting two passes with a circular saw into the locust to mark the outer edge and the bottom of the notch, then removing the material with a chisel.
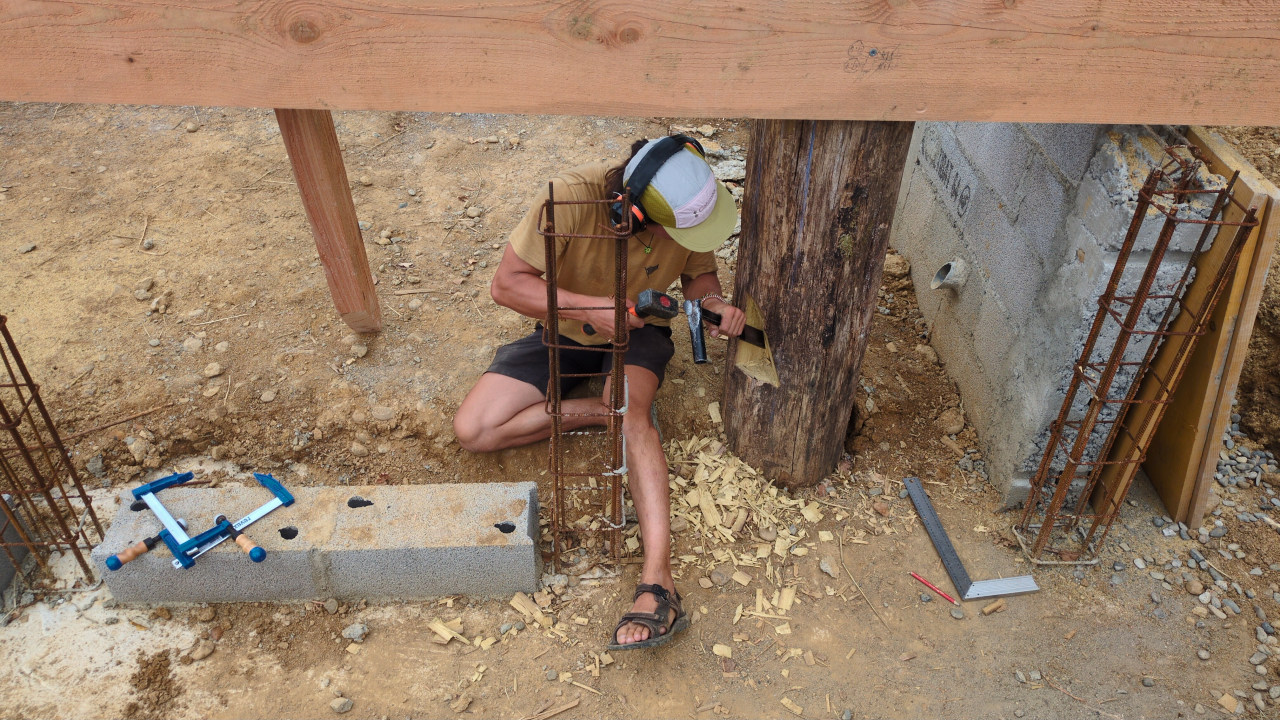
Dead simple, isn’t it? Except that… those notches have to be cut with the utmost precision so that the ties fit neatly into them, ensuring maximum surface-to-surface contact (especially at the ‘nose’ of the piece). And this need for precision, combined with the hardness of the locust wood we’re carving, means that making a notch that ‘works’ is an incredibly slow, meticulous and often frustrating process for novices like us – because often all it takes is a microscopic bump in the notch for the wood not to fit, or for it to sit awkwardly.
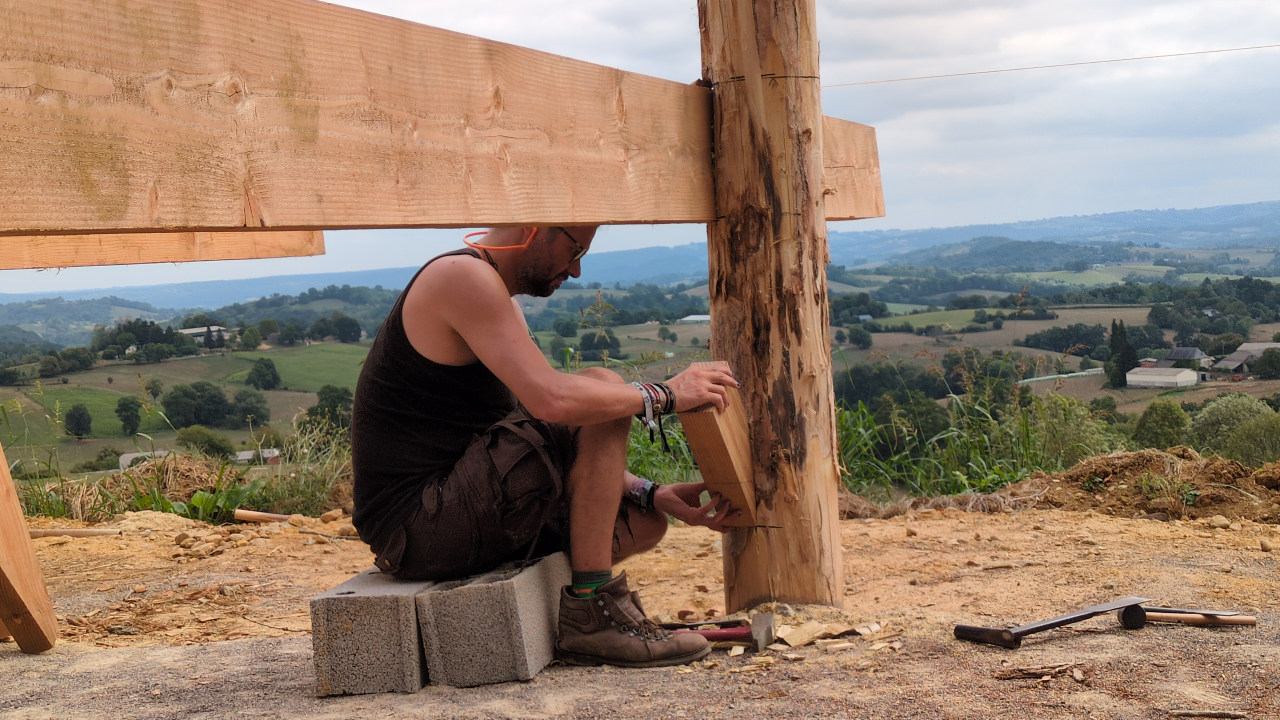
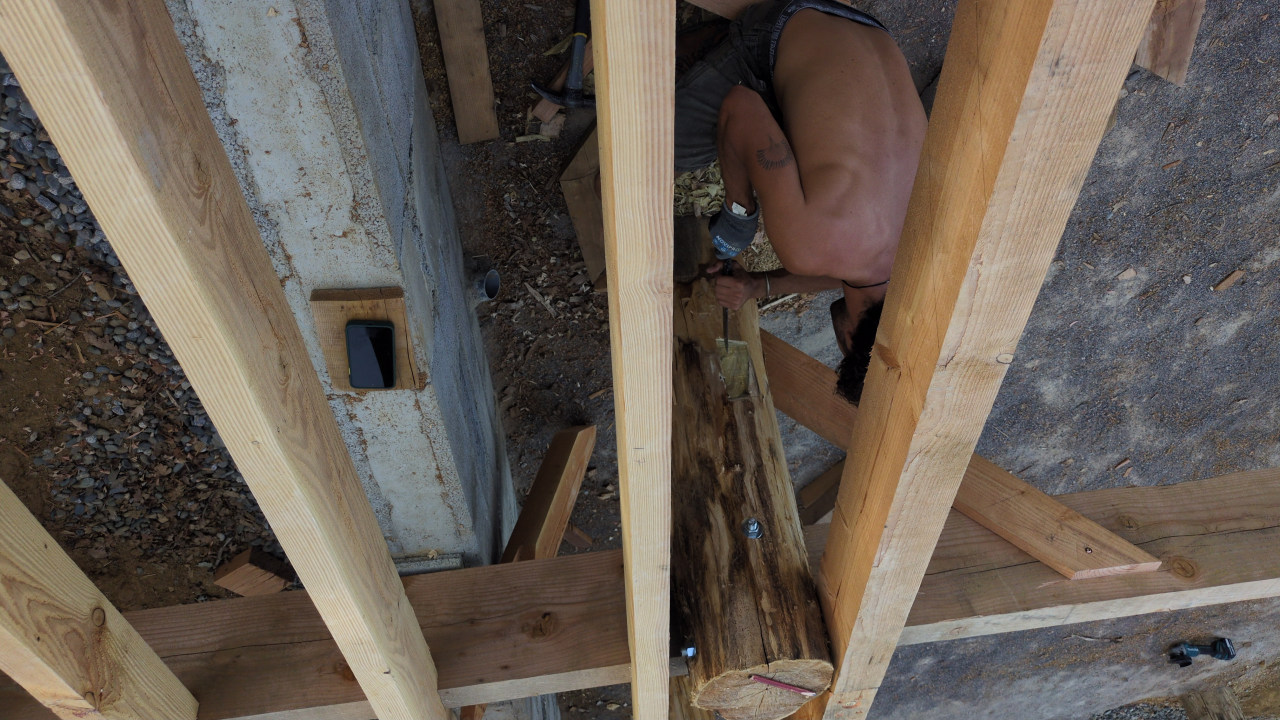
Along the direction of the load-bearing beams (east-west axis), we painstakingly constructed, together with other amateur friends, seven half-lap joints, with mortises approximately 6–7 cm deep; our carpenter friend Samuel, who taught us the nuts and bolts of this technique (ha, ha), made one as a demonstration, and another was made by Greg, yet another carpenter friend. Along the line of the eastern and central perimeter joists (the western side is quite low to the ground and therefore does not require bracing), a third carpenter friend, Mars, made 17 of them! He opted for shallower notches and solid timber joints, executed with great finesse.
Once the joint is in place and the cut-in has been made as perfectly as possible, we bolt the whole thing together, at the top and bottom, using the same nuts, washers and threaded rods as before.
Time taken: for us, around 5 to 6 hours per joint, totalling 35 to 42 hours; and for Samuel, Greg or Mars, around two to three hours per joint, totalling 38 to 57 hours.
5. Laying the joists
At last, let's have a bit of fun! As you can see, everything that has gone before has required a great deal of precision and fine-tuning. But now it’s time to move on to a much more satisfying stage, as it yields visible results quickly.
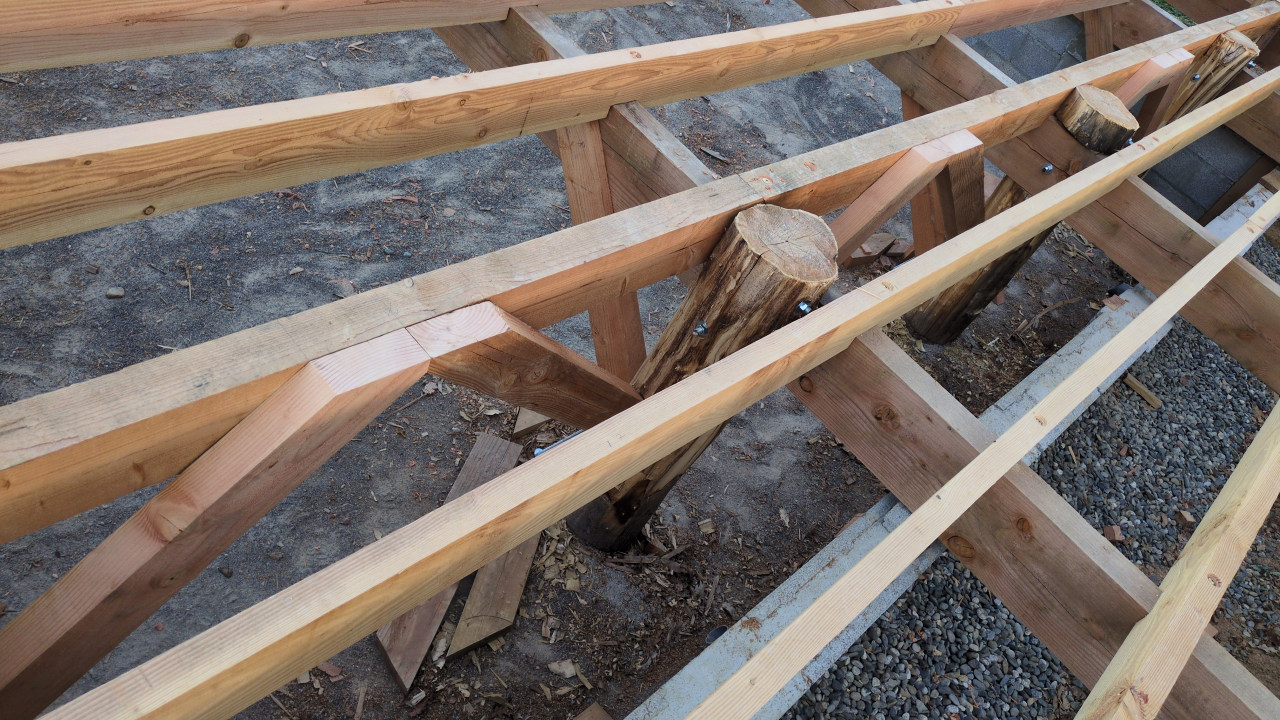
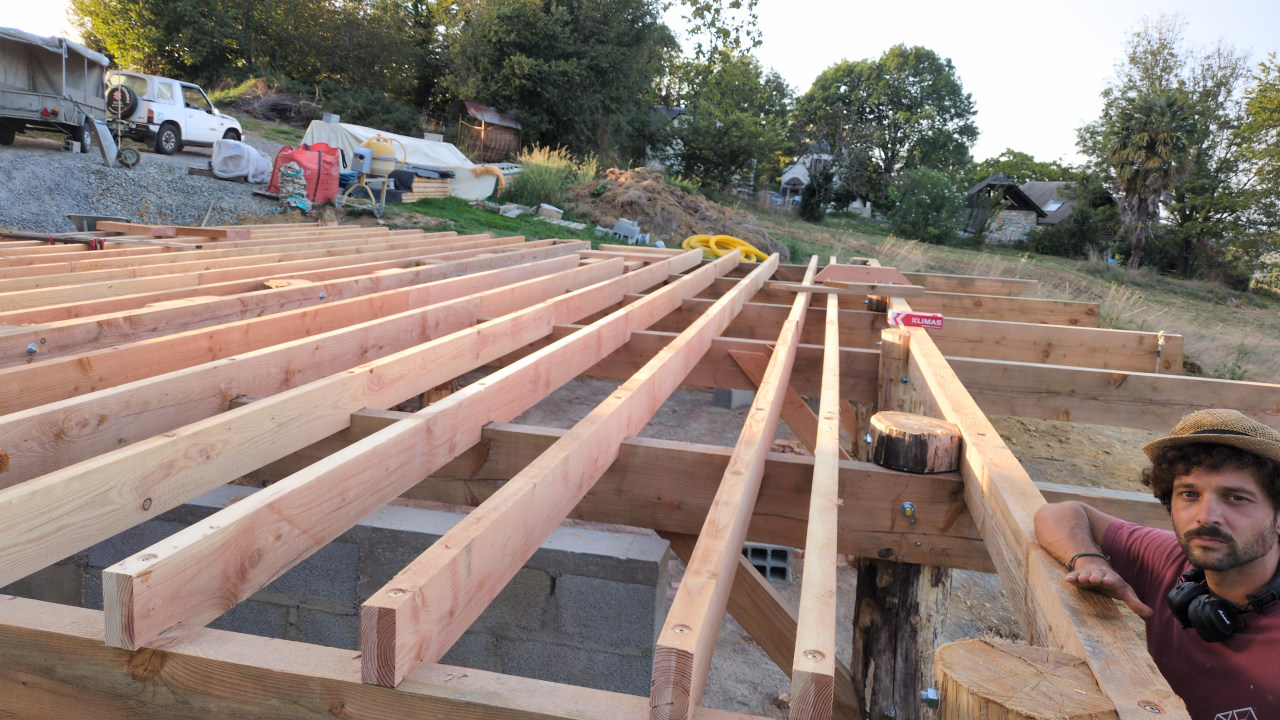
Between the perimeter and central joists, we can now lay thinner joists (6x18 cm, length: 2.5 to 4 m). Their spacing, around forty-odd centimetres, has been laid out by Valentin, the carpenter working with us, based on the dimensions of the OSB boards that we’ll be fixing on top and underneath.
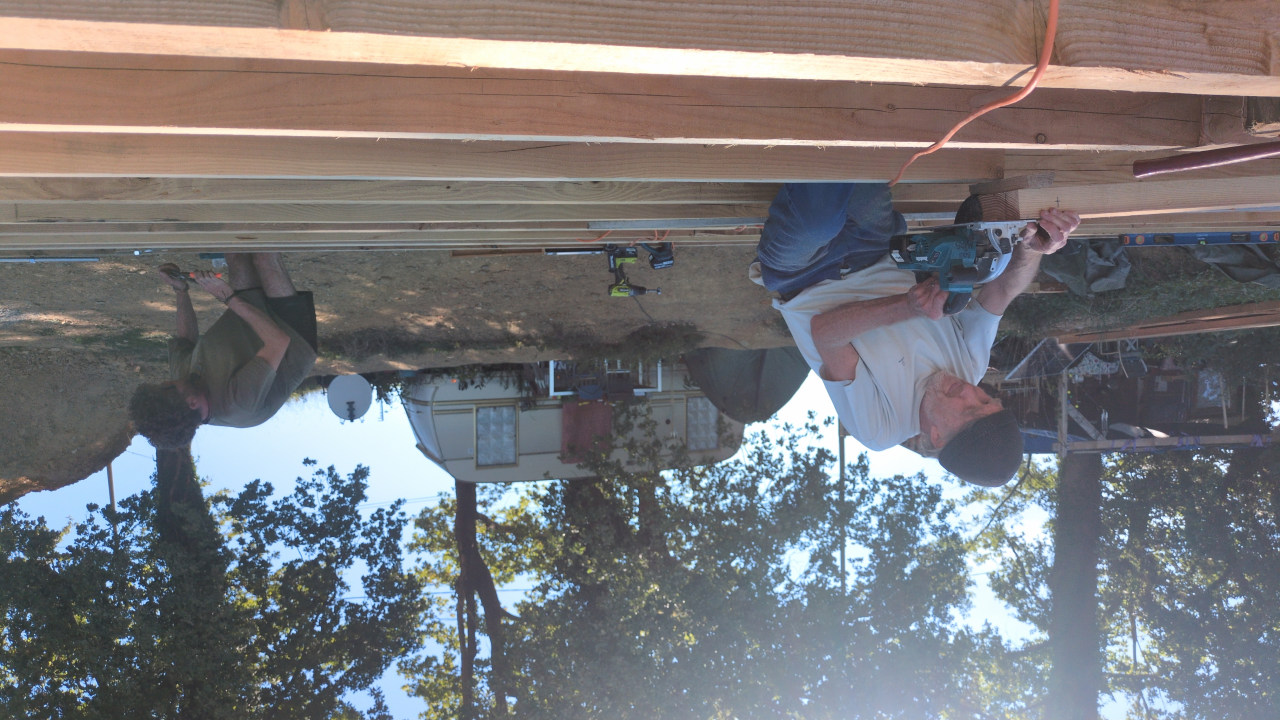
For once, the process is genuinely simple, repetitive and standardised. We place a joist on the corresponding marks (there are 16 rows), directly onto the support beams. We make a trim cut if necessary at one end and/or the other, so that its ends fit perfectly where they should. We make pencil marks, and cut notches 4 cm deep to fit them onto the load-bearing joists, first with a circular saw and then with a Japanese saw. When a central notch needs to be cut, we make the initial cuts with a circular saw, finish them off with a Japanese saw, then hollow them out using a wood chisel and a rasp.
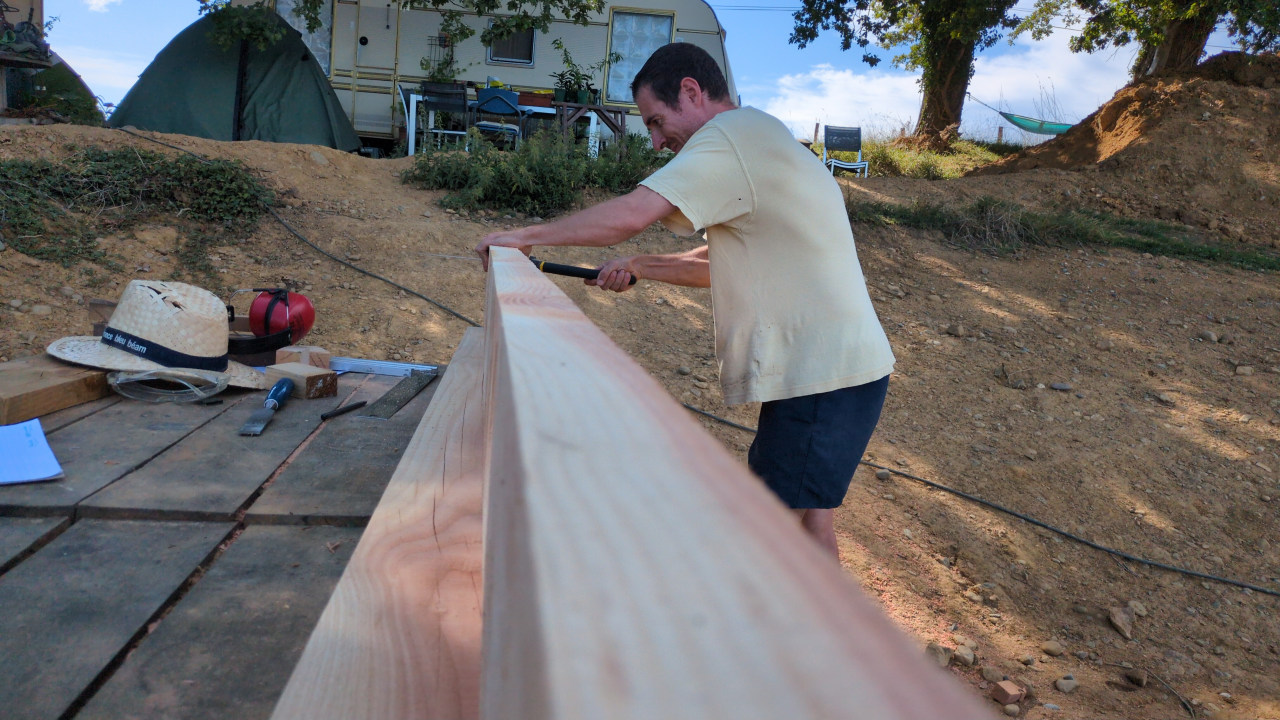
Next: we make small recesses (flat cuts) using a Forstner bit at each screw position (vertically at the ends, at a 30° angle where two joists meet); pre-drill holes with a 6 mm wood drill bit; then fasten with assembly screws (8x220).
Result: in just over a week or two, the floor slab is really taking shape! And we’re starting to visualise the floor area of our house.
Time taken: around 35 hours in total.
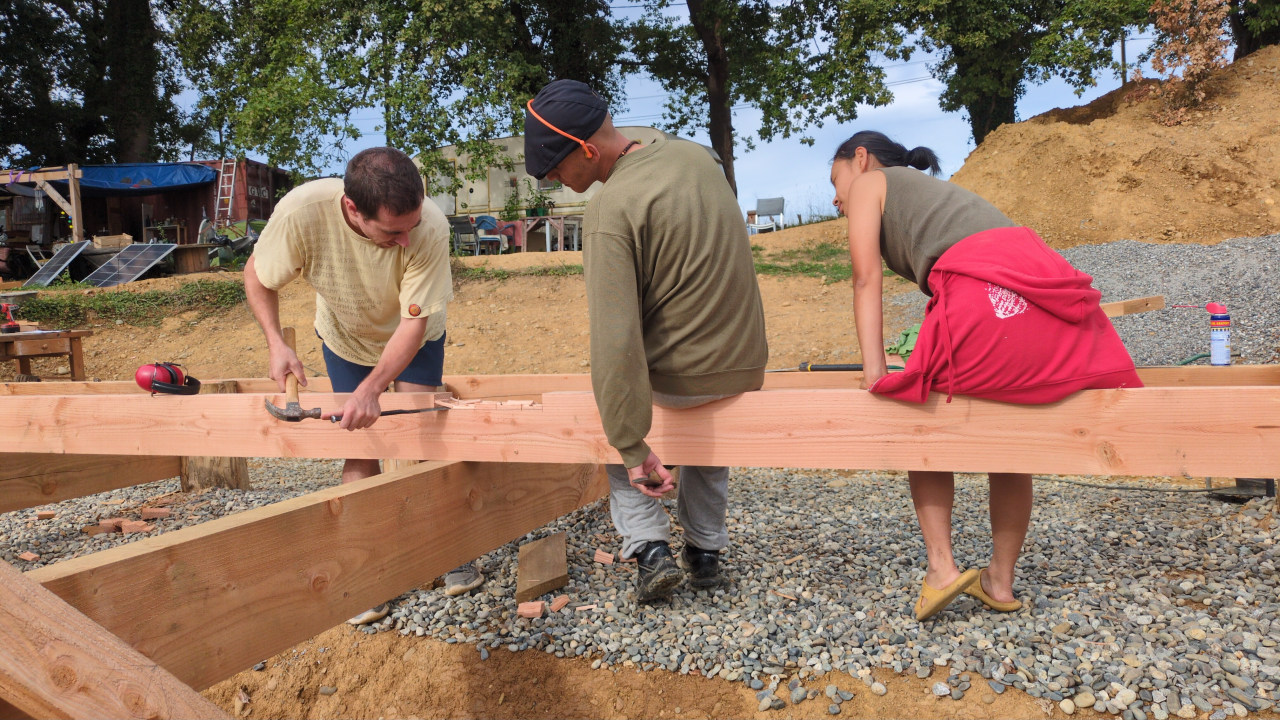
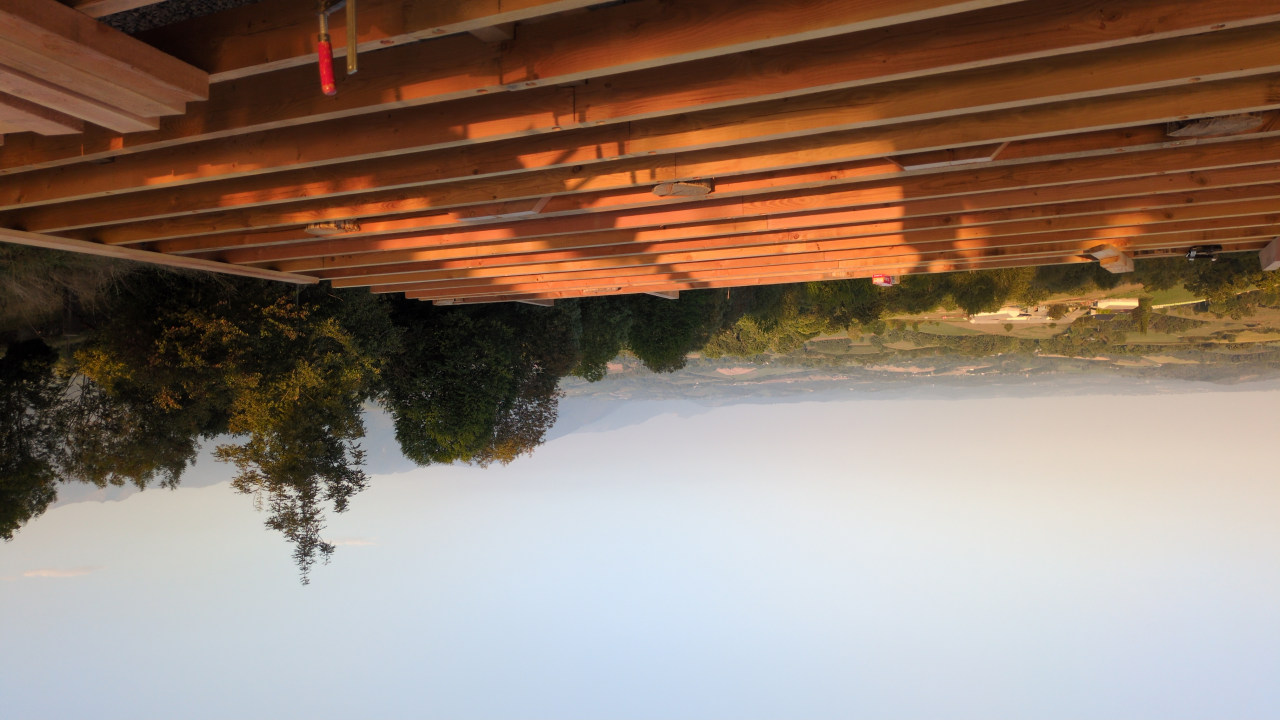
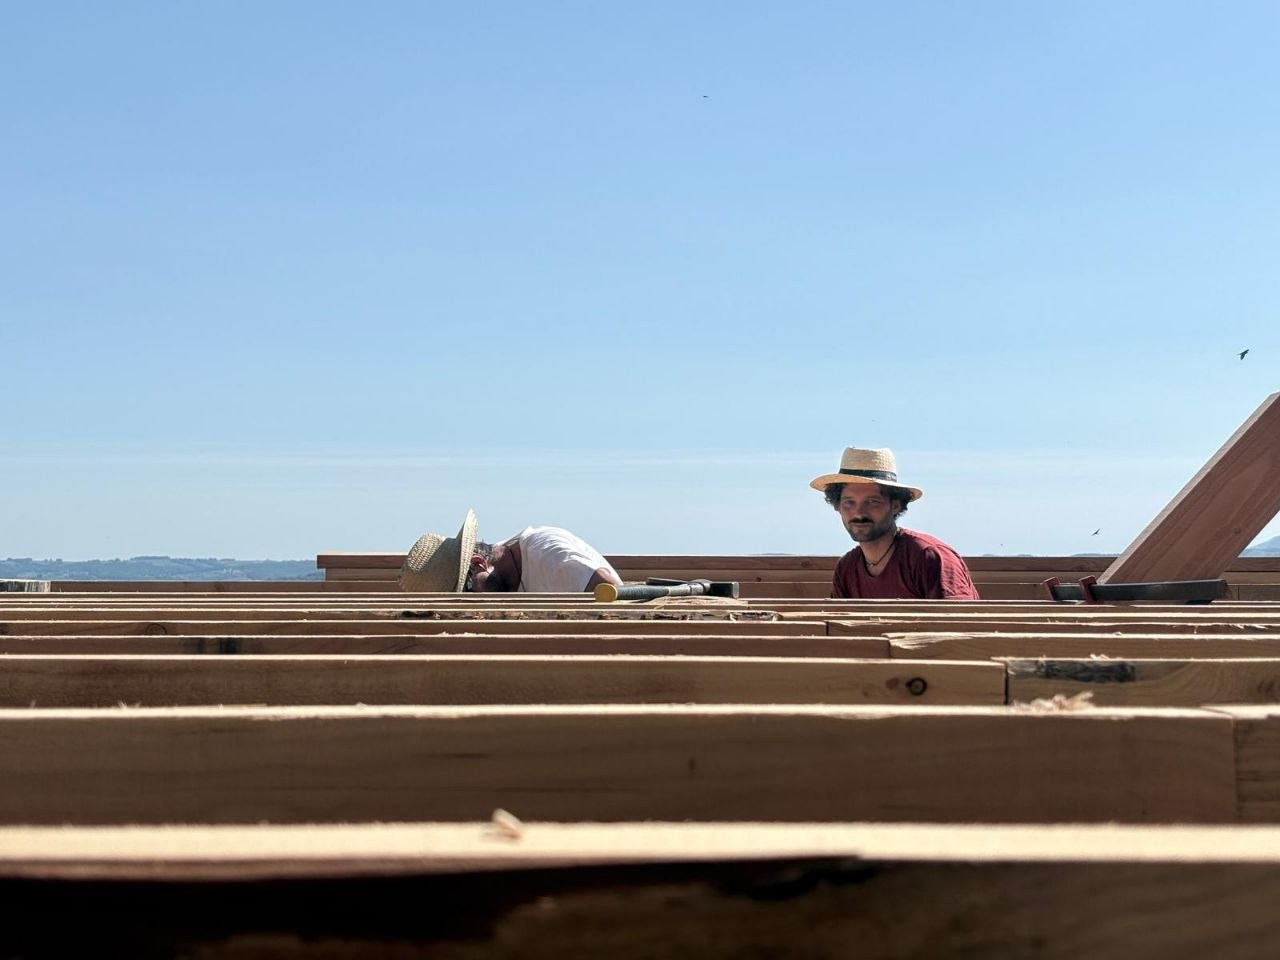
... et voilà ! In total: between 200 and 300 hours of work, or 30 to 40 7-hour days. We weren’t that far off the mark in the end, in our reverse schedule… except that we never imagined we’d be so well supported – and even have the luxury of taking a break now and then!
A huge thank you to all the incredible people who came to lend a hand on site during this intense month (and the one before): our carpenter friends, Greg, Mars, Samuel, and Valentin; and our non-carpenter friends Amin, Vincent, Rainer, Marien, Louise, Agnès, Bruno, Nico, Joe, Yimin, Xiangdong, Treetree, and Joséphine, as well as Raphaël.
And in particular, thank you to the anonymous poets for their beautifully enigmatic messages, forever inscribed on the beams of Miramon!
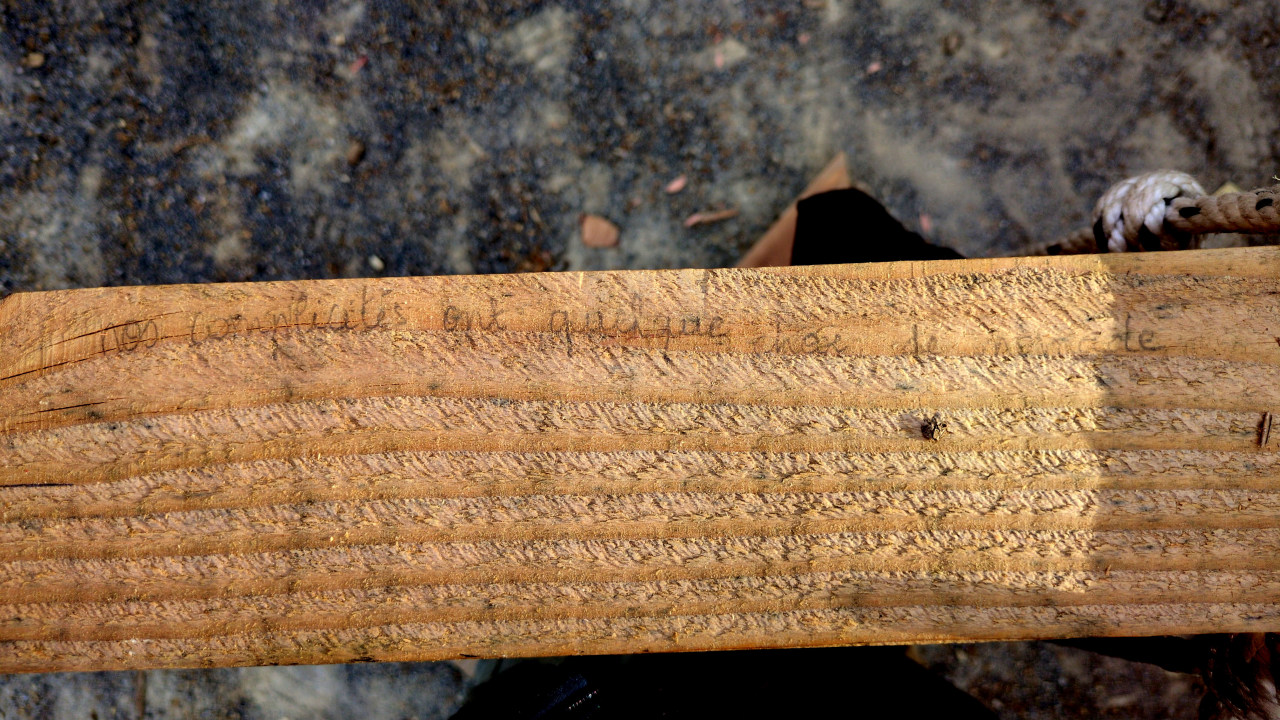
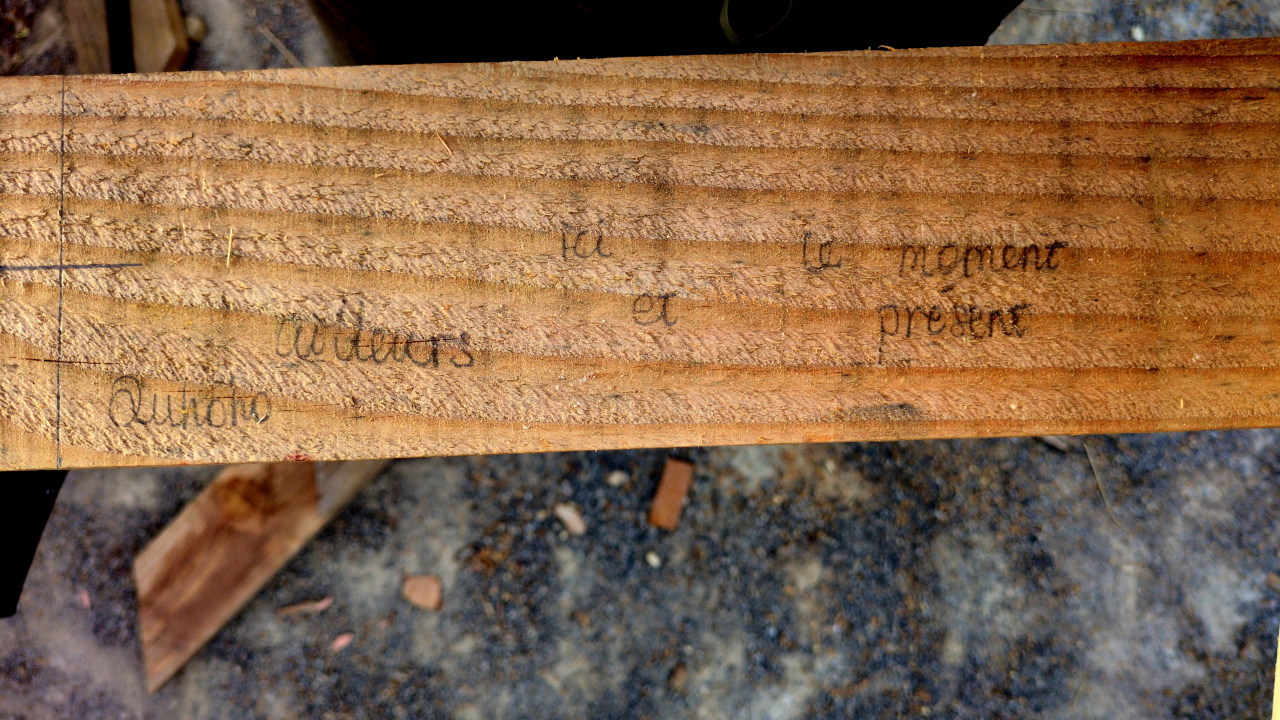
The next steps will involve fitting the struts between the joists, followed by the OSB boards, to create boxes – which we will then fill with insulation (cellulose wadding). Spoiler alert: locust piles – yes, them again – and their quirky shapes are set to make a strong comeback in our process… Watch this space.